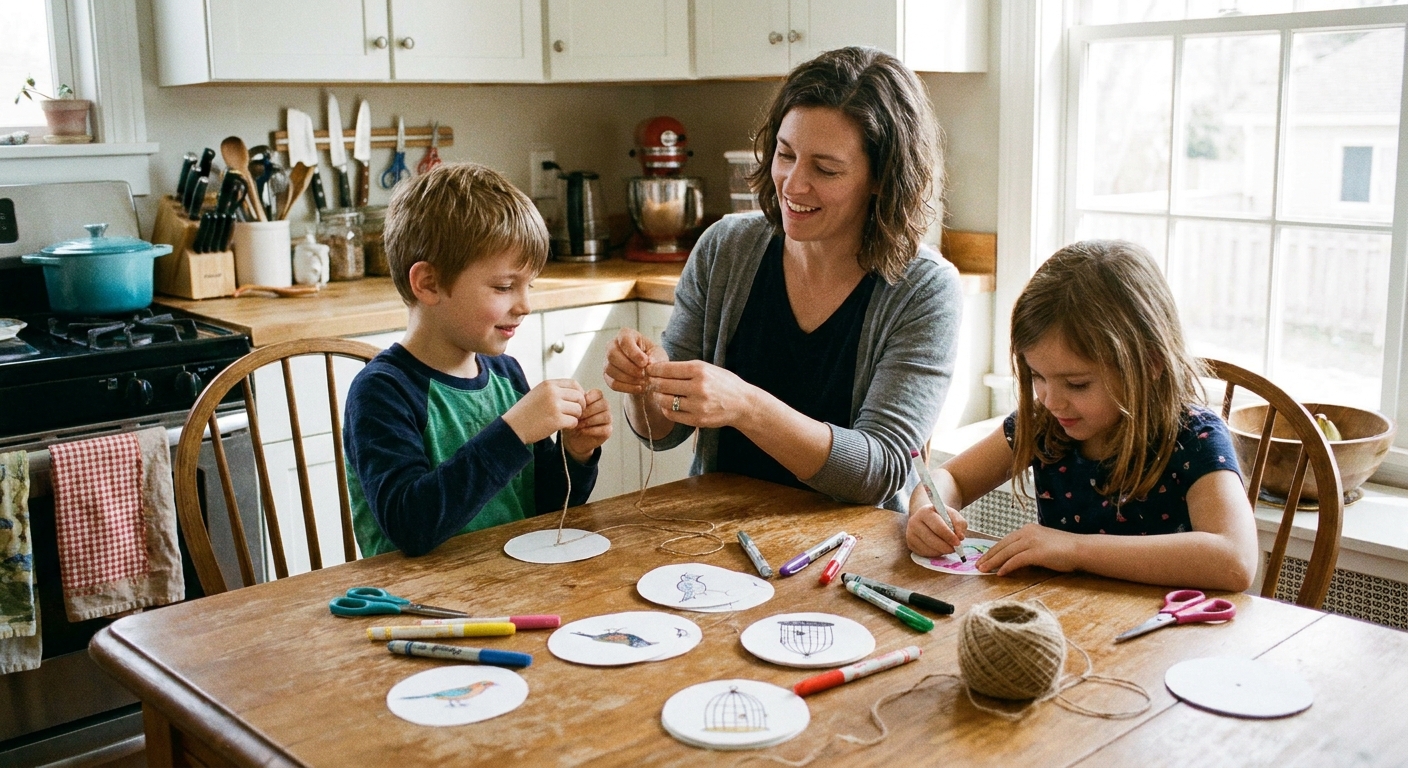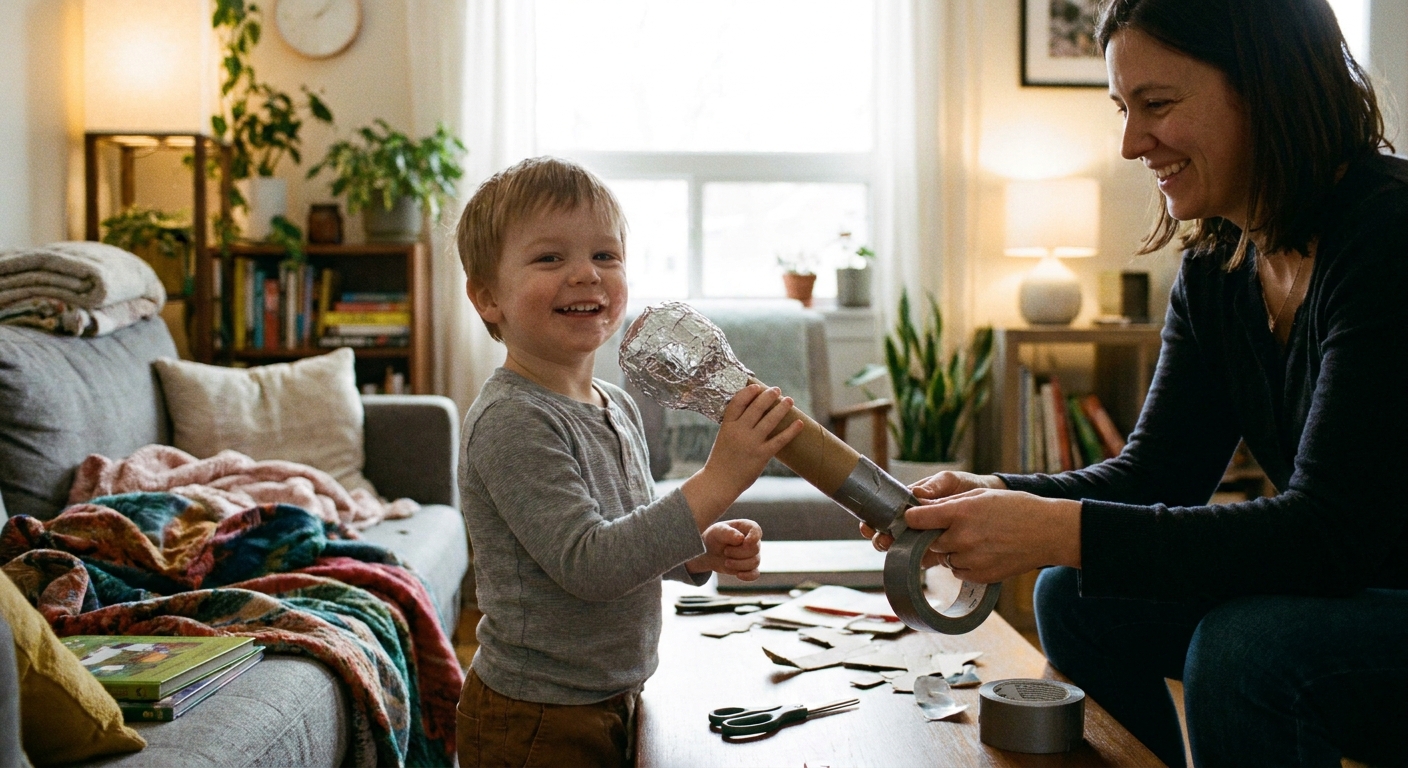

Rainy afternoon in Yorkshire, three kids bouncing off the sofa, and me trying to sound calm while stepping over a suspicious number of LEGO bricks. That is exactly when this little craft earns its keep. It looks like a humble cup with a string, but when you rub it just right it makes a wobble-giggle sound that feels like a cartoon laugh hiding in your recycling bin.
This is sometimes called a “laughing cup” or “friction drum”. I call it a Laughing Sound Box because the first time it worked my youngest shouted, “Dad, the cup is laughing at you.” Fair point.
Best for: ages 4+ with help, ages 7+ can do most steps themselves. The poking step is the bit I keep as a grown-up job.

What you are making
You are making a tiny friction instrument. When you pinch and rub the string, the vibration travels into a bit of paper inside the cup, and the cup boosts the sound like a mini speaker.
Quick clarification, because there are a few versions of this craft: some classic friction drums stretch a membrane over the top opening. This one uses a paper diaphragm disk stuck to the inside base of the cup. Same idea, slightly different build, and results can vary depending on your cup and string.
When the friction is just right, it turns into that bouncy “hee hee hee” wobble. Which is both delightful and slightly unsettling if you do it in a dark hallway. Ask me how I know.
Supplies
My favourite crafts are the ones that start with, “Do we have this already?” This one usually does.
- 1 paper cup (plastic works too, but paper tends to sound nicer)
- String (about 40 to 70 cm). Cotton string, kitchen twine, or thin yarn all work
- Paper for the diaphragm disk (scrap printer paper, brown paper, or baking parchment)
- Scissors
- Glue (PVA) or tape
- A pencil or skewer to poke a hole
- Optional: marker pens, stickers, googly eyes, washi tape for decorating
Bonus option: a tiny bit of beeswax or a candle stub to lightly wax the string. Not required, but it can make the sound a bit louder and more consistent.
String length tip: start longer, test the sound, then trim if needed. Too long tends to tangle and end up wrapped around chair legs, wrists, or the dog.
How to make it
1) Poke the hole
Turn the cup upside down. In the centre of the base, poke a small hole just big enough for your string to pass through.
Grown-up tip: If you use a skewer or scissors point, do it on a chopping board and keep fingers well clear. I like all my fingertips where they started the day.
2) Thread the string
Push the string through the hole from the outside so it comes up into the cup. Leave most of the string hanging out underneath.
3) Cut the paper disk
Cut a paper circle that fits inside the cup base, about 1 cm smaller than the inside diameter so it can sit flat without buckling. Do not stress it. This is a giggle machine, not a NASA component.
4) Tie and fix the disk (order matters)
Inside the cup, tie a chunky knot in the end of the string.
- Attach the knot to the disk first: Tape or glue the knot to the middle of your paper disk.
- Then fix the disk to the cup: Press the paper disk flat onto the inside base of the cup so it sticks down well.
Make sure the string comes through the hole centred and straight so it hangs vertical when you hold the cup.
- If using glue, hold it for 30 seconds, then give it a few minutes to grab.
- If using tape, make a little “X” over the disk edge to keep it snug.
5) Let it set, then decorate
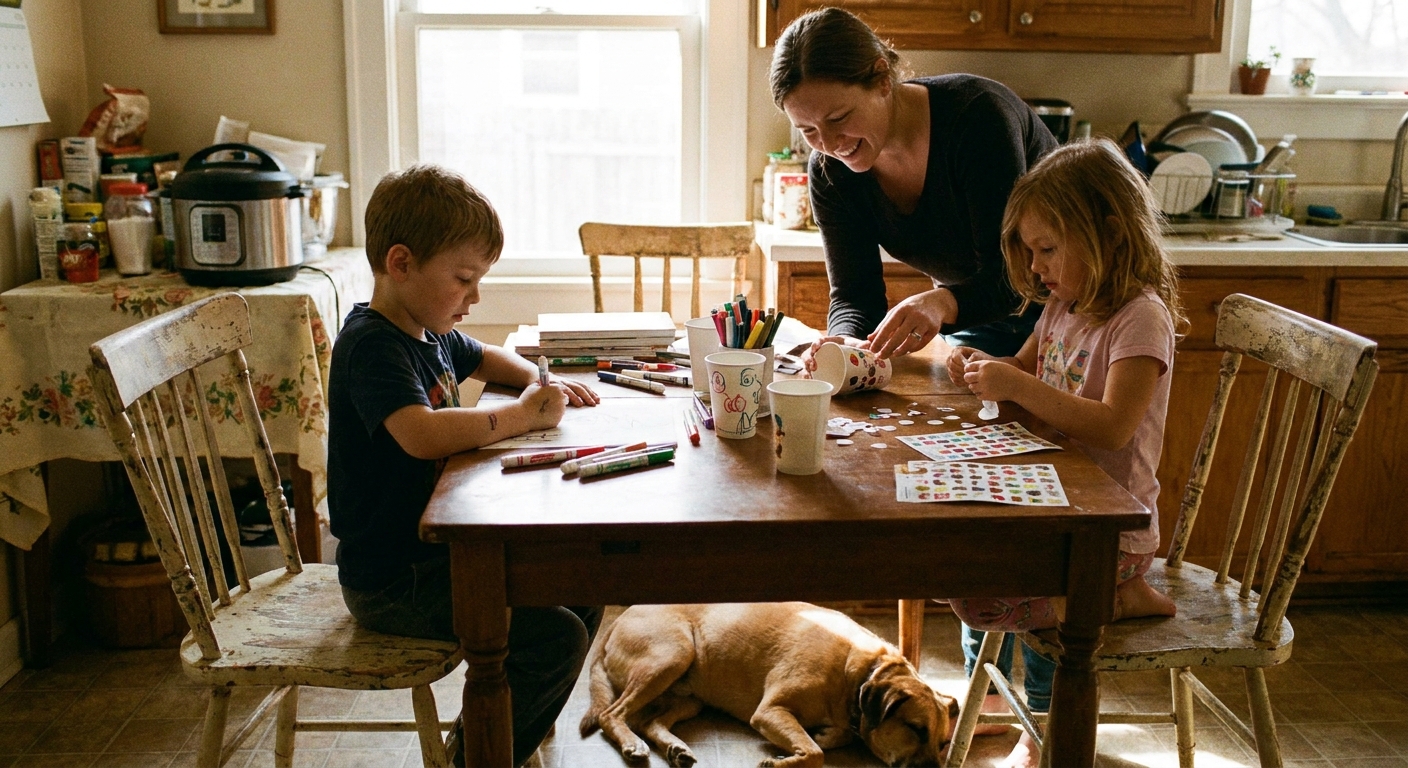
While it dries, decorate the cup. We often go full “silly monster”: big eyes, wonky teeth, eyebrows that look permanently shocked.
How to make it laugh
This is the part where kids look at you like you are performing magic, which is excellent for my self-esteem.
- Hold the cup steady near the top with your non-rubbing hand.
- Lightly dampen your fingers (not soaking). Just a tiny bit of water helps grip the string.
- Pinch the string near the bottom with thumb and forefinger.
- Pull down in short strokes, like you are trying to gently start a tiny lawnmower.
- Repeat the stroke rhythmically. The sound should start as a squeak and then turn into a wobbling laugh.
If it is not working: try slightly wetter fingers, a different string (cotton grips better), or a firmer pinch. Also check that the paper disk inside is stuck down well. If it is flapping loose, the sound gets shy.
Make it sillier: 6 variations
- The Monster Moustache: Tape a paper moustache to the cup so the laugh “belongs” to a character.
- Two-String Experiment: Try two holes and two strings for a weird giggly duet. This one is a bit fiddly, and the sounds can interfere with each other, but it is fun to test.
- Deep Belly Laugh: Use a larger cup or small tub. Bigger chamber, boomier sound.
- High-Pitched Giggle: Use thin string or embroidery thread and a smaller cup.
- Waxed String Upgrade: Rub a candle stub on the string lightly. It can make the vibration more dramatic.
- Secret Sound Box: Decorate it like a “normal” cup, then surprise someone with a sudden cackling noise. Harmless prank energy, my favourite kind.
If your kids love playful pranks, you might also enjoy our DIY practical joke props for more low-mess mischief.
Safety notes
- Supervise younger kids with string. For toddlers, keep the string shorter and always use close supervision.
- Do not wrap string around fingers. It is not a fishing line challenge. It can tighten quickly if it tangles.
- No tiny loose parts for under-3s. Googly eyes love to wander off.
- Mind the poking step. Grown-up job if you are using anything sharp.
- Keep it dry-ish. Damp fingers are great. A soaked cup is not.
Make it an afternoon
Once you have one Laughing Sound Box, the kids will want an entire band. Lean into it.
- Make three cups with different decorations and “voices”.
- Hold a “noisy talent show” for the living room. Applause is mandatory, even for the cat.
- Pair it with jokes. We keep a stash from our kids jokes guide and do one joke between each performance.

Troubleshooting
It only squeaks
- Try a slightly firmer pinch and shorter rubbing strokes.
- Use cotton string or kitchen twine instead of slippery yarn.
- Make sure the paper disk inside is pressed flat and stuck down.
The string keeps slipping through
- Tie a bigger knot inside, or tape the knot down more securely.
- If the hole is too big, add a small piece of tape over it and poke a new smaller hole.
It is very quiet
- Use a stiffer cup (paper usually beats flimsy plastic).
- Try a larger cup for more resonance.
- Lightly wax the string with a candle stub, which can help.
The cup is falling apart
- Reinforce the bottom with tape before poking the hole.
- Use a second cup nested inside for extra strength.
A tiny closing challenge
Once you have the laugh working, ask your child: “Can you do three different laughs?”
- A sneaky giggle
- A villain laugh
- A grandad belly laugh
Then do yours. Mine always ends up sounding like a dying seagull with stage fright. Which, honestly, still counts as comedy in this house.
If you are on a crafting roll, hop over to our Kids Crafts guide for more easy makes that use what you already have at home.