

The first time I made photo booth props at home, I had a bold plan: create a “quick set” before tea. Twenty minutes later I was still wrestling a wonky paper moustache onto a bendy straw, while one child insisted on being “a pirate hamster” and another demanded “eyebrows that look like lightning”.
Good news: once you nail a sturdy handle and a simple way to reinforce the card, photo booth props are basically unstoppable. In this guide I will show you how to make silly moustaches, wobbly glasses, and speech bubbles packed with proper groan-worthy kid jokes.
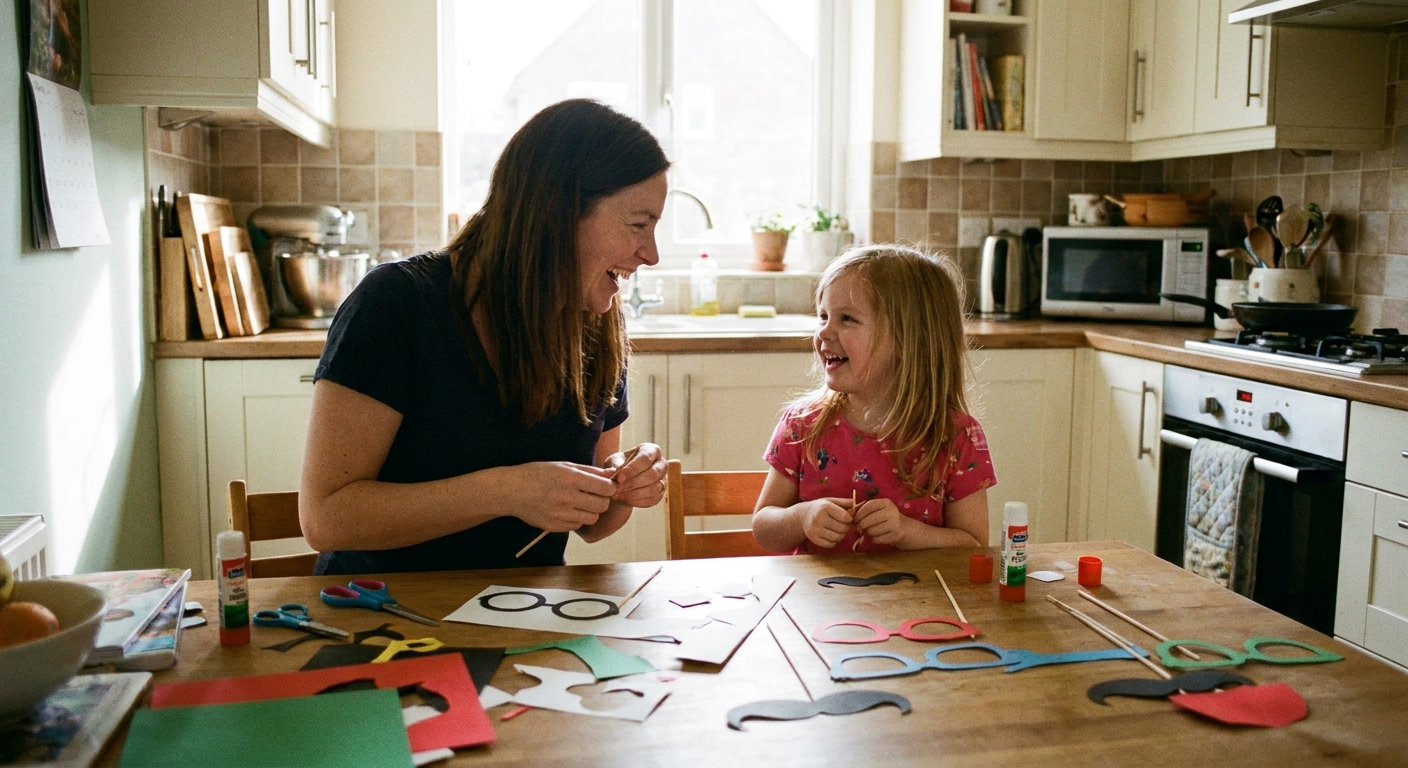
What you will need
You can make brilliant props with almost entirely recycling-bin treasure. The goal is: thick shapes, strong joins, comfy handles.
- Card: cereal boxes, delivery boxes, or any thick card
- Paper: coloured paper for decoration (optional)
- Handles: wooden dowels, bamboo skewers, craft sticks, or even chopsticks
- Adhesives: glue stick plus strong tape (packing tape, duct tape, or masking tape)
- Scissors and/or a craft knife (adult only)
- Marker pens: black, plus a few bright colours
- Optional reinforcements: clear tape, laminating pouches, sticky-back plastic, or wide parcel tape
- Optional extras: googly eyes, yarn, pom poms, glitter glue (brace yourself)
My Yorkshire kitchen-table rule: if it cannot survive one enthusiastic eight-year-old, it is not finished yet.
Make them sturdy
If your props always flop over like a sad lettuce leaf, it is nearly always the handle join. Here are three ways to make the handle actually behave.
Option A: Taped sandwich join
- Cut your prop shape from thick card.
- Place the dowel on the back so it overlaps the shape by about 6 to 8 cm.
- Tape the dowel down firmly with a strip of strong tape.
- Cut a second piece of card (a rectangle is fine) and tape it over the dowel to “sandwich” it in place.
- Add one more strip of tape across the join, then wrap the tape over the card edge where possible. That little wrap locks the layers together and stops the join peeling.
Option B: Slot method
- Cut a small slot in the prop where the handle will sit (adult help).
- Push the dowel through the slot so it sits behind the prop.
- Tape on both sides of the slot, then add a card patch over the join.
Option C: Double-handle trick
For large signs, use two dowels spaced apart like a tiny ladder. It stops spinning and makes kids look instantly more professional, like they run a very serious comedy club.
Comfort tip: wrap a bit of masking tape around the bottom of the dowel to make a soft grip, especially for smaller hands.
Anti-poke tip: if you are using skewers, snip off the sharp point or cover the end with a big blob of tape (or a bit of hot glue with adult help). Nobody needs a party prop that doubles as a jousting lance.
Size guide
If you have ever made a brilliant prop and then realised it vanishes in photos, this is usually why.
- Face props (moustaches, glasses, eyebrows): aim for about 15 to 25 cm wide.
- Speech bubbles: about 20 to 30 cm wide, with big letters.
- Handles: keep them short enough that kids are not fencing with them. Around 15 to 20 cm of handle below the prop is plenty for most ages.
Step-by-step: silly moustaches
Moustaches are the gateway craft. Once you make one, you will suddenly be making twelve. Here are three reliable styles.
1) Classic curly moustache
- Draw a long moustache shape with two curls on the ends.
- Cut from thick card.
- Colour it black or brown. Add lighter streaks for “fancy gent” vibes.
- Reinforce the front with wide clear tape (or parcel tape) if you want it to last multiple parties, then trim the edges.
- Attach the dowel using the taped sandwich join.
2) Bushy caterpillar moustache
- Cut a thick oval moustache shape.
- Snip tiny triangles along the top and bottom edge to make it look furry.
- Add a few outrageous stray hairs with marker.
3) “Milk foam” moustache
- Cut a simple cloud-like shape from white card.
- Add a few pale grey lines for texture.
- Optional: glue on cotton wool sparingly, then tape over the back to keep fluff from shedding everywhere.
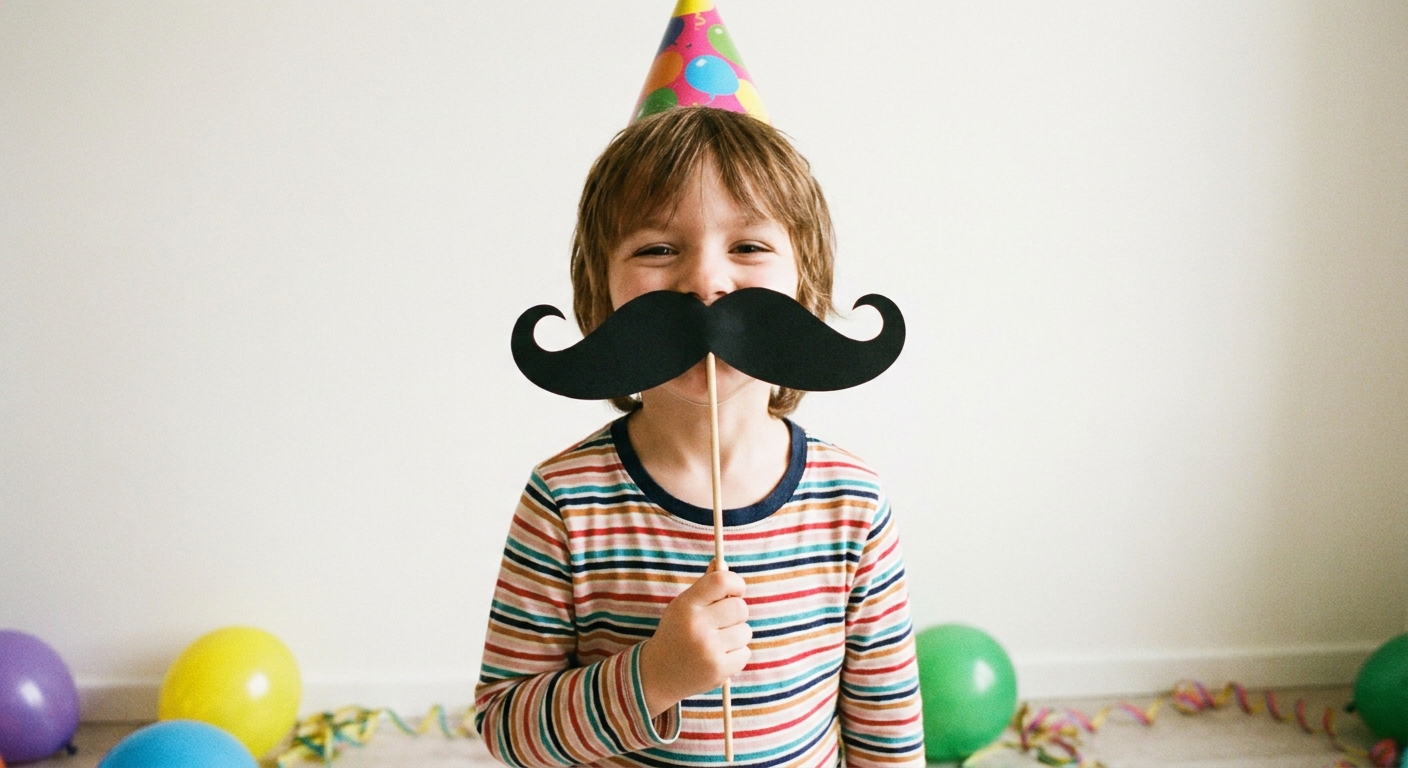
More facial features kids love
If you want the “proper” photo booth experience, mix moustaches with a few bold facial bits. The trick is big shapes and thick outlines so they read well in photos.
Giant glasses
- Make the frames huge. Think cartoon, not optician.
- Cut out the “lenses” so kids can see, or leave them solid for silly effect.
- Add eyebrows straight onto the top edge for instant comedy.
Ridiculous eyebrows
- Lightning bolt brows
- Super surprised arches
- One up, one down (my personal expression while stepping on LEGO)
Noses and beaks
- Big round clown nose
- Pointy witch nose with a wart (pom pom optional)
- Parrot beak for pirate photos
Hats and hair
- Paper crown with “jewel” doodles
- Spiky hair silhouette
- Chef hat (pair with a joke about “grating” cheese, obviously)
If you want more giggle-friendly makes, have a peek at our Kids Crafts guide for other low-mess ideas.
Speech bubbles and joke signs
Speech bubbles are where you can sneak in the jokes. They also help shy kids, because they can hold up a sign and let the joke do the talking.
Pick your sign shapes
- Speech bubble: classic “I am talking” shape
- Thought bubble: fluffy cloud with small circles leading to it
- Big sign: rectangle, starburst, or a giant arrow pointing at the silliest face in the room
Make them readable in photos
- Use thick black marker for outlines.
- Keep text short. Big letters beat clever handwriting every time.
- Leave a wide blank margin around the joke so it does not look crowded.
- For dark rooms, use white card with black marker, or neon card with black marker.
Reinforce large signs
For anything bigger than your hand, reinforce the back with an extra layer of card, then use two handles. It stops the dreaded “spinny sign of doom” that whacks your knuckles mid-photo.
Sticky hands tip: parties are surprisingly sweaty. If you want your props to survive, seal the edges with clear tape so the card layers do not start peeling as soon as little fingers get involved.
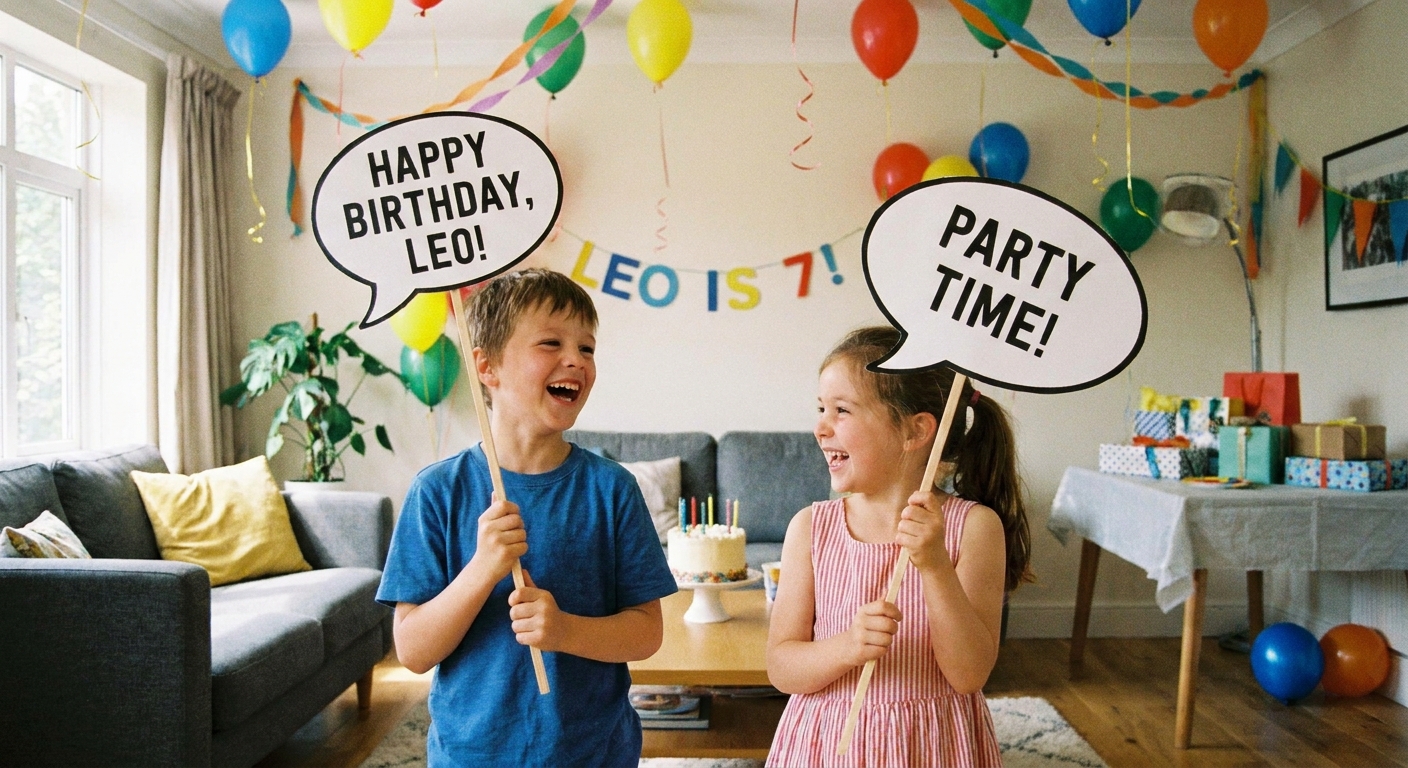
20 kid-friendly jokes for your signs
Copy these onto your speech bubbles, or let kids choose their favourites and write them in their own wobbly letters. That wobble is part of the charm.
- Why did the teddy bear say no to dessert? Because it was stuffed.
- What do you call a sleeping bull? A bulldozer.
- Why did the banana go to the doctor? Because it was not peeling well.
- What do you call cheese that is not yours? Nacho cheese.
- What do you get when you cross a snowman and a vampire? Frostbite.
- Why did the golfer bring two pairs of trousers? In case he got a hole in one.
- What time is it when an elephant sits on your fence? Time to get a new fence.
- How do you make a tissue dance? Put a little boogie in it.
- Why did the chicken join a band? Because it had the drumsticks.
- What do you call a bear with no teeth? A gummy bear.
- Why was the maths book sad? Because it had too many problems.
- What do you call a dinosaur that is sleeping? A dino-snore.
- Where do cows go on holiday? Moo York.
- What do you call a can opener that does not work? A can not opener.
- Why did the tomato blush? Because it saw the salad dressing.
- What kind of key opens a banana? A monkey.
- What did one wall say to the other? I will meet you at the corner.
- Why did the bicycle fall over? Because it was two-tired.
- What do you call a boomerang that does not come back? A stick.
- What do you call a fish wearing a bowtie? Sofishticated.
Need more material? Our Kids Jokes guide has loads of kid-safe groaners for every mood.
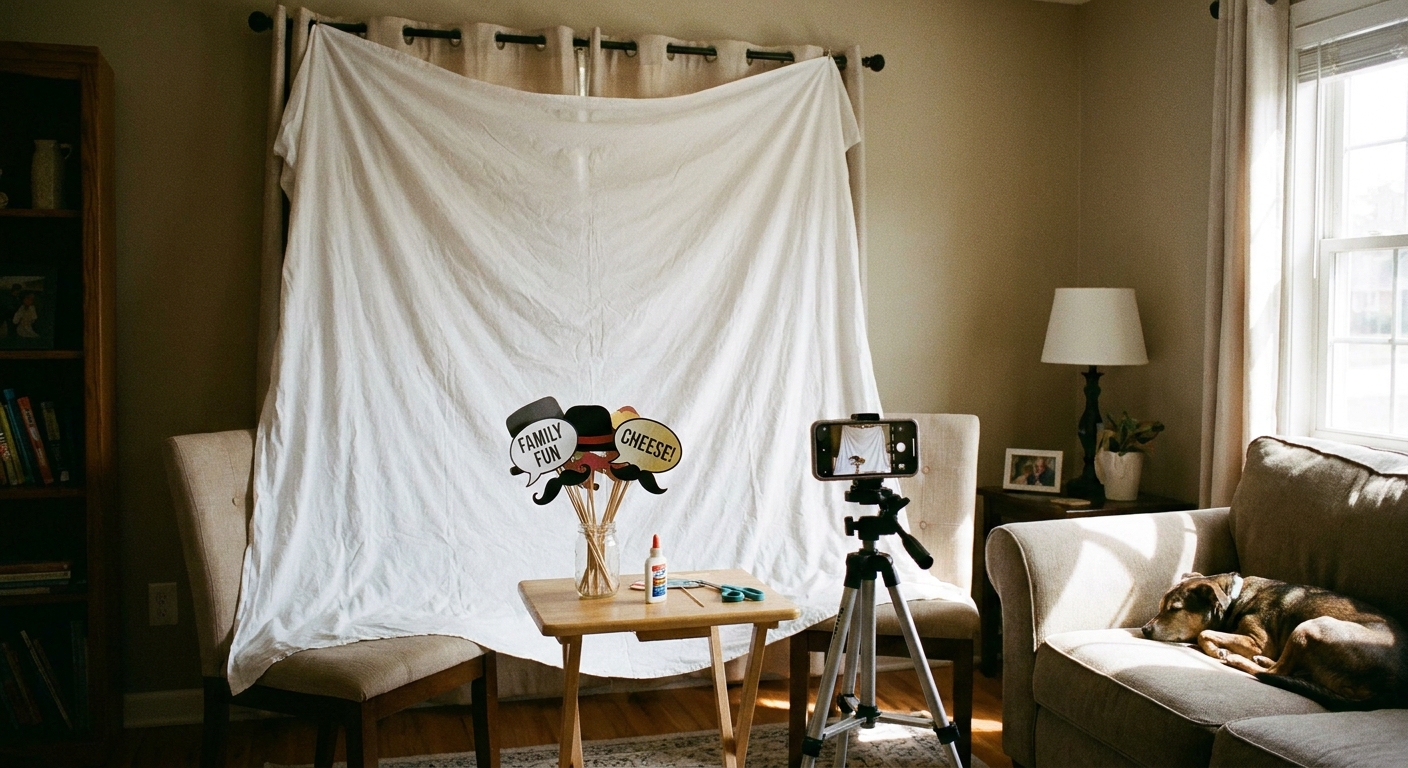
Set up a simple photo booth
You do not need a fancy kit. You need decent light and a background that does not feature the laundry pile you swore you would deal with yesterday.
Easy background ideas
- A plain sheet or duvet cover clipped to a curtain rail
- A blank wall with a bit of space in front
- Streamers taped vertically (use painter’s tape if your walls are precious)
- Big cardboard “frame” kids can hold up (extra points for stickers)
Lighting tips that actually help
- Face kids toward a window in daytime.
- Avoid bright light directly behind them, or they turn into mysterious silhouettes.
- In the evening, point a lamp at a light-coloured wall or ceiling near the camera so the light bounces back softer and kinder to faces.
Prop management
- Put props in a tall jar or jug handle-side down so kids can grab easily.
- Have a “return bucket” to stop props migrating across the house.
- Make 2 or 3 duplicates of the most popular items (moustaches and glasses always start arguments).
Safety and age tweaks
- Under 3s: skip skewers and use wide craft sticks. Avoid small add-ons like tiny googly eyes, beads, and sequins entirely, as they are a choking hazard.
- Scissors: child-safe scissors are great for simple shapes. Save craft knife cutting for adults.
- Paint and glitter: totally optional. Markers and coloured paper are usually quicker and less likely to end up on the dog.
- Stick length: keep handles short enough that kids are not fencing with them. Unless your party theme is “tiny musketeers”, in which case, fair.
Make-ahead and storage tips
If you want props that survive more than one birthday party, a little planning helps.
- Clear tape seal: cover the front with wide clear tape in overlapping strips, then trim edges. Add a little tape around the edges to stop layers lifting.
- Cardboard folder storage: store props flat in a large box file or shallow under-bed box.
- Handle-first packing: keep all handles pointing the same direction to avoid bent corners.
- Quick repairs kit: stash a roll of strong tape and a black marker with the props for emergency moustache surgery.
Level it up
If your kids get obsessed with making props (very possible), turn it into a mini comedy craft session.
- Do a “new prop for a new joke” challenge.
- Create a “pun police” badge and arrest anyone who tells a truly terrible joke (this will be me).
- Pair it with a homemade performance moment. Our kids comedy night ideas are perfect if your living room can handle a little applause.
Quick FAQ
What paper is best for photo booth props?
Thick card is best. Cereal box card works brilliantly, and you can glue coloured paper on top if you want a cleaner look.
How do I stop the prop from bending?
Use a double layer of card for big props, seal the front with clear tape for stiffness, and use two handles for anything bigger than your hand.
Can I use straws instead of dowels?
You can, but they bend fast. If straws are all you have, use two together and tape them along their full length, then add a big card patch at the join. Thicker smoothie straws tend to hold up better than flimsy paper ones, but they still will not be as sturdy as a craft stick or dowel.
How many props should I make for a party?
A good starter set is 12 to 20 props: a few moustaches, a few glasses, a couple of eyebrows, and 4 to 6 joke signs. Make duplicates of the favourites if you have time.