

The first time I made a thaumatrope with my kids, I confidently announced, “Behold, science!” and then promptly tied the string on upside down so our bird appeared to be sitting under the cage like it was sulking. The children found this hilarious. Which, honestly, is the correct response to most of my crafting.
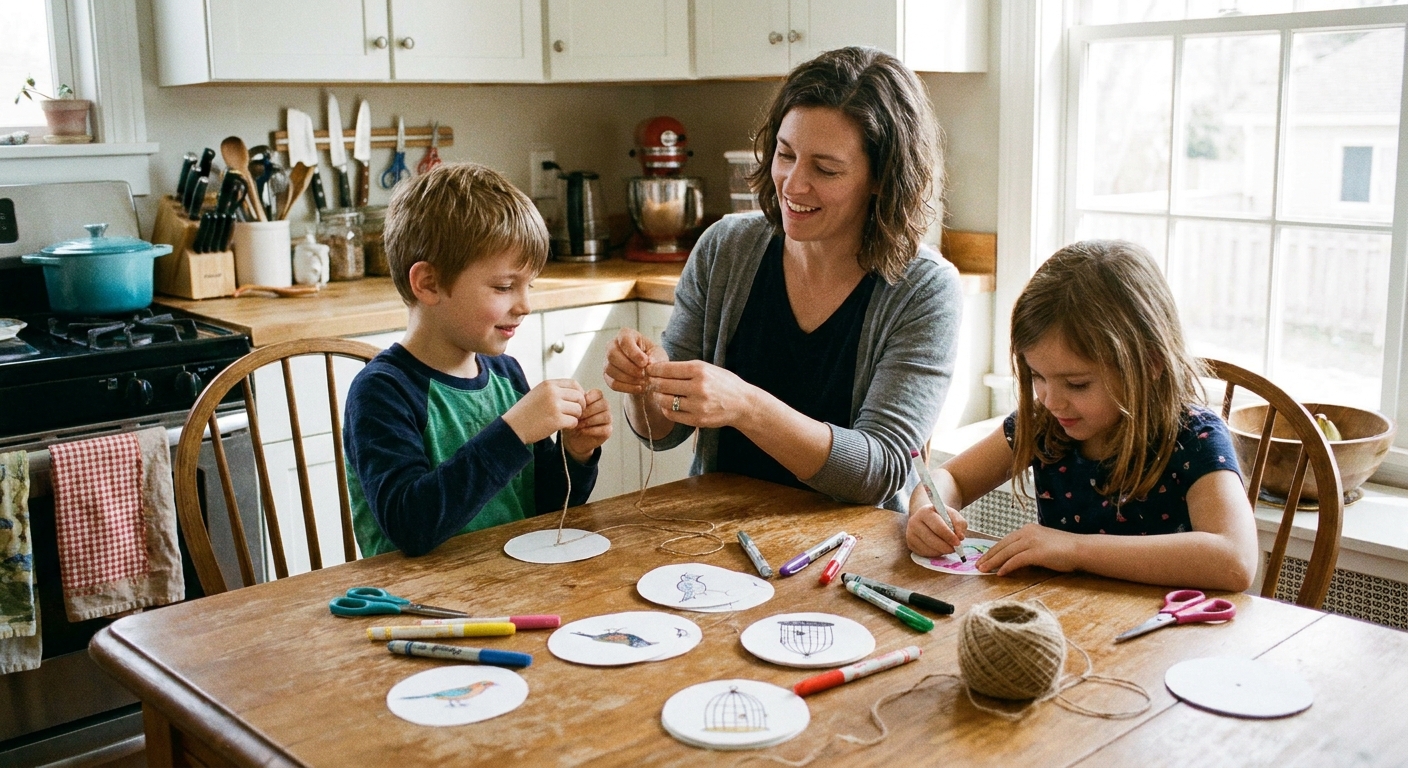
A thaumatrope (THAW-muh-trohp) is an old-school optical illusion toy: two pictures on either side of a disc that “become one” when you spin it fast. The “magic” is that your brain blends the images when they switch quickly (often called persistence of vision), but we are absolutely using that magic for maximum silliness.
What is a thaumatrope (and why it is so funny)?
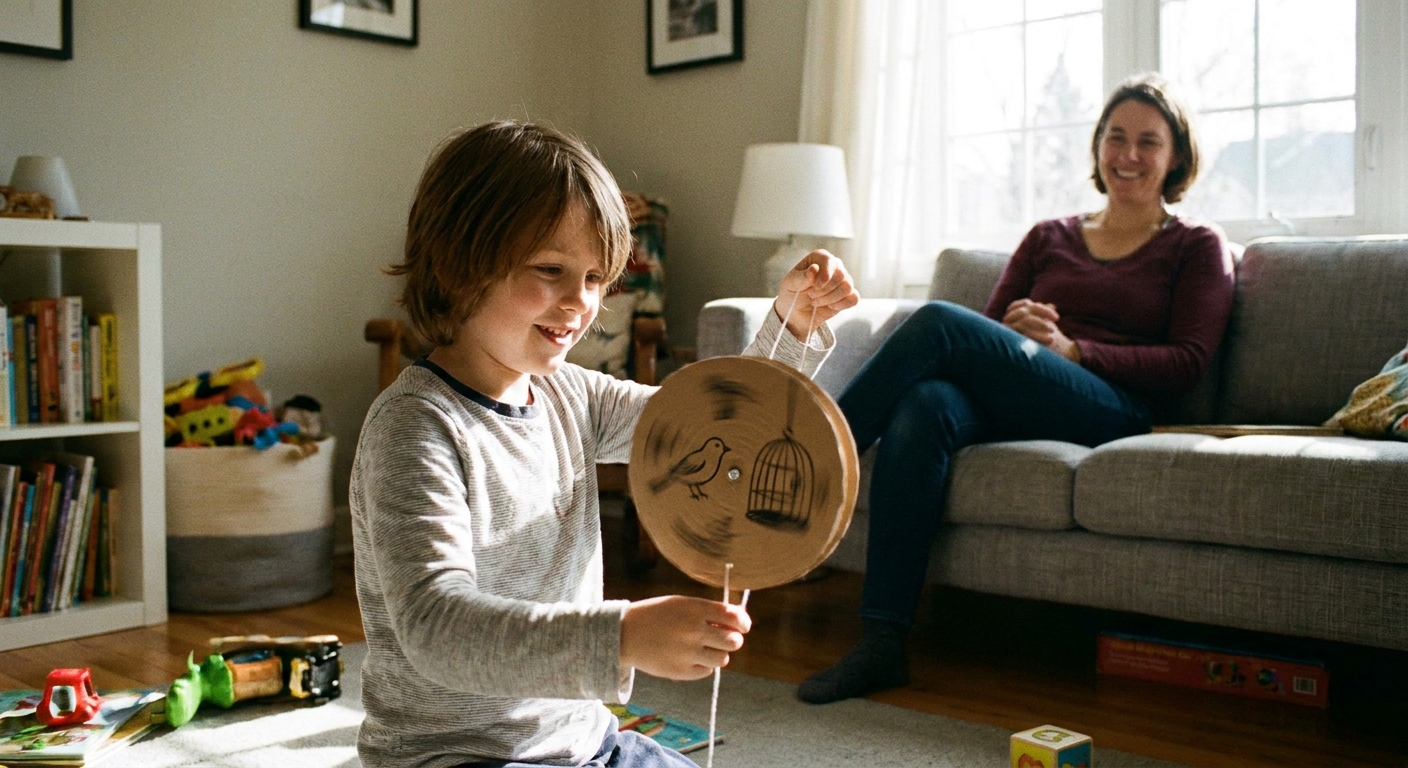
A thaumatrope is a little spinner that shows one picture on the front and one on the back. When you twist the strings and let it spin, your eyes blend the images together.
That blending is perfect for visual punchlines, like:
- A serious face on one side and a ridiculous moustache on the other
- A plain taco on one side and a tongue-out mouth on the other
- A “quiet” kid on one side and a megaphone on the other (spun together: suddenly not quiet)
It is basically a joke that only works at high speed, which is also how my brain works on rainy afternoons in Yorkshire.
Supplies (recycling-bin friendly)
- Cardstock or thin cardboard (cereal boxes work brilliantly)
- Scissors
- Markers or crayons
- Glue stick or tape
- Hole punch (helpful, not essential)
- String, yarn, or dental floss (floss spins like a champion)
- Optional: colouring pencils for details, stickers, googly eyes if you want chaos
If you are in a big craft mood, our Kids Crafts guide has more low-mess ideas for using whatever is already in the house.
How to make a string thaumatrope
1) Cut and prep your disc
- Cut a circle about 8 to 10 cm wide from cardstock or cereal-box cardboard.
- If your cardboard is thin, cut two circles and glue them back-to-back for extra sturdiness.
- Mark two dots opposite each other, about 1 cm in from the edge.
- Punch a hole at each dot (or carefully poke with a pencil).
Quick size tip: A bigger disc is easier to draw on, but it is heavier and may wobble more. A smaller disc spins faster, but gives you less space for your masterpiece. Cereal-box thickness is a nice middle ground: light enough to spin, sturdy enough to survive small hands.
2) Draw the “setup” and the “punchline”
Pick one idea that becomes funny when combined. Draw the first part on one side, then flip the disc and draw the second part on the other side.
Important alignment trick: Hold your disc up to a window (or a lamp) so you can see through it faintly. That helps you line up the second drawing so it lands in the right spot when spinning.
Anti-mirror tip (learned the hard way): Keep the holes left and right as you flip the disc. Do not rotate it like a steering wheel. Flip it over like you are turning a page so your second drawing does not end up mirrored or upside down.
3) Thread the strings
- Cut two pieces of string, each about 25 to 35 cm long.
- Tie one string through each hole. Double-knot it so it does not slip.
- You will end up with one string on each side, which makes two little handles for spinning.
- Trim any long tails so small fingers are not tempted to “improve” your knotwork.
4) Spin it!
- Hold one string end in each hand.
- Twist the disc by rolling it between your fingers until the strings wind up.
- Pull your hands gently apart, then relax, then pull again in a rhythm. The disc should spin quickly and repeatedly.
If it wobbles like a dizzy pancake, that is usually a sign one string is longer than the other or the holes are not opposite. You can still call it “modern art” and move on.
10 funny thaumatrope ideas
These are designed so one side is the setup and the other side is the punchline. Mix and match if your kids are in a “chaos chef” mood.
- Face + moustache: A plain face on one side, a huge curly moustache on the other.
- Kitten + laser eyes: Cute kitten on one side, big beams on the other. Suddenly: villain cat.
- Fish + bicycle: Fish on one side, bicycle on the other. Spinning fish riding a bike? Comedy gold.
- Sandwich + bite marks: Neat sandwich, then big chomp marks. The joke is that it was definitely not you.
- Robot + tutu: Serious robot, then a fluffy tutu. Baller-bot.
- Donut + missing middle: Icing donut, then a suspicious bite right through the centre.
- Chicken + sunglasses: Chicken on one side, cool shades on the other. Too cool to cluck.
- Planet + ring: Plain planet, then a ring. Instantly Saturn, instantly fancy.
- Tooth + tooth fairy: Tooth on one side, tiny fairy on the other. Great for wobbly-tooth season.
- “Quiet” kid + megaphone: Calm face, then megaphone mouth. This one feels… documentary.
If you want more joke fuel to go with the spinning, grab a few kid-safe favourites from our Kids Jokes guide and let the kids match each spinner to a one-liner.
Make it a setup and punchline session
If your kids like telling jokes, here is a fun way to structure it:
- Pick a character: A cat, a teacher, a dinosaur, a potato with feelings.
- Choose the setup image: Normal character doing a normal thing.
- Add the twist: The thing that makes it silly when combined.
- Name the spinner: “Sir Flaps-a-Lot,” “Professor Moustache,” “Taco Trouble.”
Then do a mini “premiere” where everyone spins theirs and performs a joke in one sentence. If you want to go full living-room comedy club, my cardboard-microphone nonsense is right here: Kids comedy night: DIY cardboard microphone and stand-up tips.
Age tweaks
Ages 3 to 5
- Pre-cut the circles and pre-punch the holes.
- Use chunky markers.
- Try super simple combos: face + hat, dog + bone, ice cream + sprinkles.
Ages 6 to 9
- Kids can cut, hole-punch, and plan the alignment themselves.
- Encourage speech bubbles as ideas they say out loud, not drawn text.
- Try two-step jokes: “Before” and “After” versions of the same character.
Ages 10+
- Experiment with more detailed art and tighter alignment.
- Try “misdirection” jokes: one side looks serious, the other reveals the silliness.
- Make themed sets: animals, food, “school day,” superheroes.
Common problems and fixes
It is not combining properly
- Fix: Your drawings are not lined up, or the second side got mirrored. Use the window trick and redraw the second side, keeping the holes left and right as you flip. Or make a new disc. Cereal boxes are forgiving like that.
It spins once and stops
- Fix: Try slightly longer string and keep the pull-relax rhythm steady. Also check that you have twisted it enough to build up a bit of “wind-up,” and that your hands are not too close together when you pull.
It wobbles like a tiny flying saucer
- Fix: Holes are not opposite, or the disc is not balanced. Re-punch holes more evenly, or trim the circle neater.
The string keeps untying
- Fix: Double-knot and add a tiny piece of tape over the knot on each side.
Safety and sanity
- Supervise scissors and hole punching, especially with younger kids.
- If you use dental floss, remind kids it is not for tying up siblings, pets, or parents who “just need five minutes of quiet.”
- Spinners can whack little knuckles if someone gets too enthusiastic. Give each kid a bit of elbow room.
More giggle-friendly crafts
If your house is anything like mine, one spinning toy leads to twelve more ideas and a sudden shortage of cardboard.
Quick thaumatrope challenge
Before you pack up the glue stick, try this: everyone makes a spinner using the same setup image (a plain face), but each person chooses a different punchline layer (moustache, silly teeth, clown nose, spaghetti hair, eyebrows that look like caterpillars).
Then take turns spinning and guessing what the punchline will be before it starts. It is like a magic trick, except the magician is a six-year-old with a marker and unstoppable confidence. Respect.