
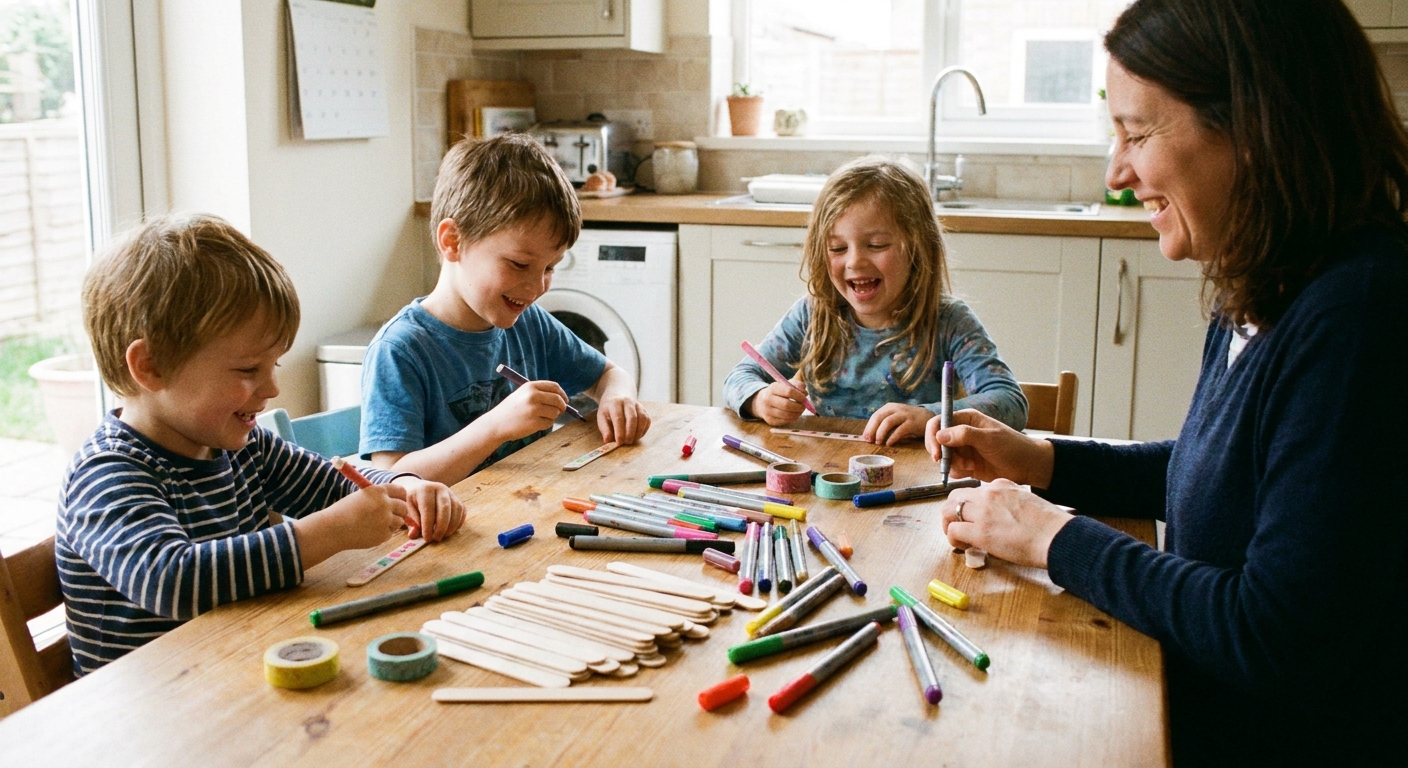
Rainy afternoon in Yorkshire, three kids bouncing off the sofa, and me standing in the kitchen holding a pack of wooden craft sticks like they were a PhD in childcare. Then I had a brilliant idea, or a desperate one. Same thing in parenting. We made popsicle stick puns where the punchline is hidden on the back. The kids got a craft, I got five minutes of quiet, and everyone got a truly unreasonable amount of laughter for something made of… wood.
This is one of those low-effort, high-giggle projects that turns into a game you can replay again and again.
What are hidden-punchline craft sticks?
They are exactly what they sound like: a joke setup on one side of a wooden craft stick, and the punchline on the other side. Kids read the front, guess the ending, then flip to reveal the real punchline.
You can play them like a quick joke snack, a party game, a classroom brain break, or even a dinner-table “no phones, only puns” moment.
What you need
- Wooden craft sticks (popsicle sticks)
- Markers or felt-tip pens (fine-tip helps if your writing runs large)
- Optional: coloured pencils, stickers, washi tape
- Optional: glue stick (for light decorations)
- Optional: clear tape (to protect them and make them last longer)
- A cup, jar, or small box to store them
My Yorkshire dad tip: if you have multiple kids, give each one a different marker colour for the punchlines. It makes it easier to see who wrote what, and dramatically reduces “That one is MINE” disputes.
How to make popsicle stick puns
1) Pick a simple format
The easiest structure is:
- Front: Question or setup
- Back: Punchline
Keep the writing big and bold. These things will be read at arm’s length by a child who is also probably upside down on the sofa.
Practical stick truth: shorter jokes work best. If the punchline is turning into a paragraph, save it for a joke book and pick a snappier one for the stick.
2) Write the setup on the front
Write the joke setup along the length of the stick. If it’s long, use two short lines:
- Line 1 near the top
- Line 2 near the middle
3) Hide the punchline on the back
Flip the stick and write the punchline. Add a little flourish if you want, like a tiny doodle, but keep it readable.
Optional mischief: put a tiny “no peeking” note on the back end. It will not stop anyone, but it will make you feel like you tried.
4) Add colour coding (optional, but brilliant)
- Green dot on the front = “animal jokes”
- Blue dot = “food jokes”
- Red dot = “school jokes”
This helps kids pick a theme fast.
5) Tape them (optional, for long life)
If you want them to survive a party, wipeable hands, or a toddler who believes everything is a snack, cover each side with clear tape to protect them. Trim the edges carefully so they don’t feel sharp.
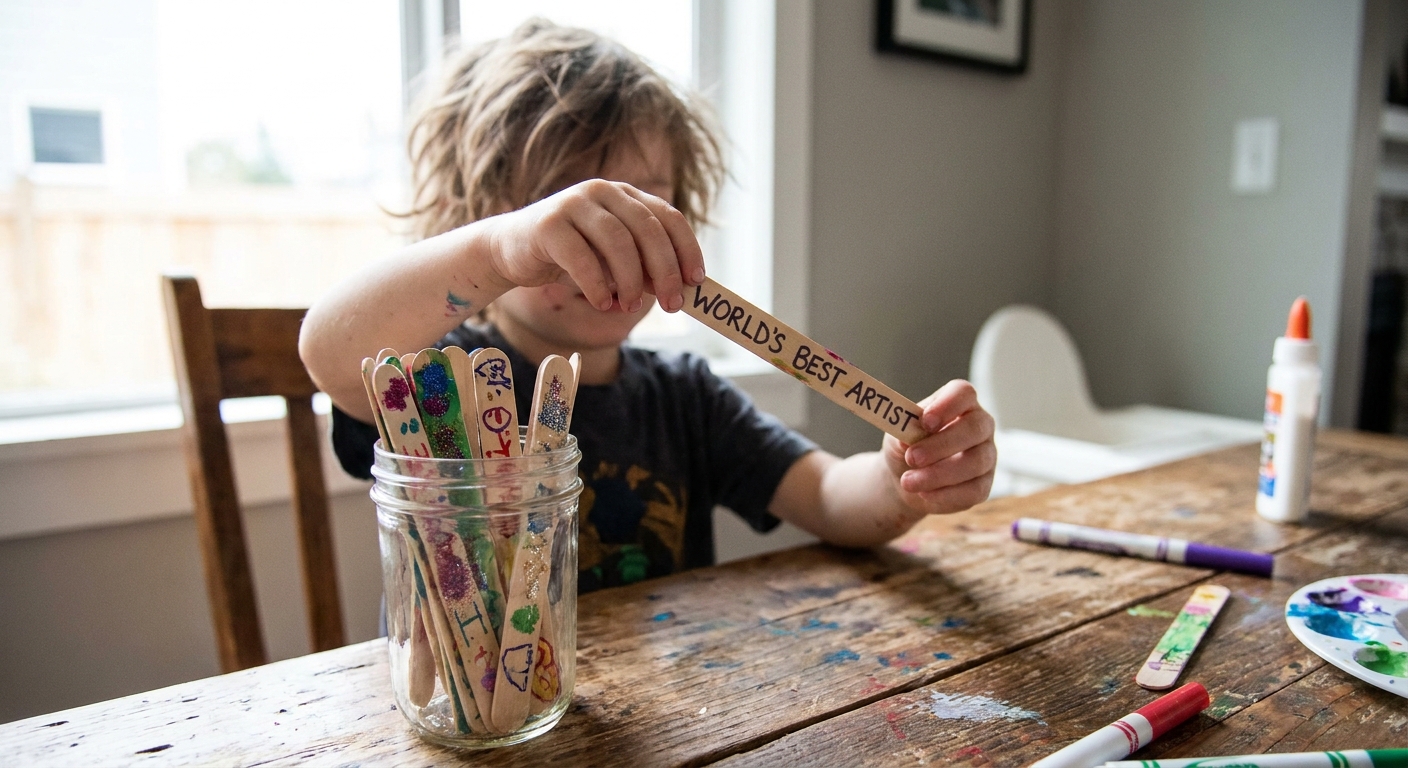
How to play (3 quick game ideas)
Guess and flip
One person reads the front. Everyone guesses the punchline. Flip and reveal. Award one point for close guesses, two points for identical guesses, and five points if the guess is funnier than the real punchline (rare, but it happens). If you’ve got younger kids in the mix, keep it simple: one point for a correct guess, full stop.
Joke stick jar
Keep the sticks in a jar on the table. At dinner, each person draws one stick and reads it. No pressure. No prizes. Maximum groaning allowed.
Party relay
Split into teams. Put the sticks in a cup at one end of the room. Kids run up, grab a stick, read the setup out loud, then bring it back for the team to guess. Flip to check. First team to get 10 correct wins.
If you want more ideas that work for mixed ages, wander through our party games guide.
Popsicle stick puns to copy
Write the front text on one side and the back text on the other. Mix and match, or let kids invent their own for peak chaos.
Animal ones
- Front: What do you call a bear with no teeth?
Back: A gummy bear. - Front: Why do cows have hooves instead of feet?
Back: Because they lactose. - Front: What do you get when you cross a sheep and a kangaroo?
Back: A woolly jumper. - Front: What do you call a sleeping dinosaur?
Back: A dino-snore. - Front: Why did the chicken join a band?
Back: Because it had the drumsticks.
Food ones
- Front: What did the toast say to the butter?
Back: You are on a roll. - Front: Why did the banana go to the doctor?
Back: Because it was not peeling well. - Front: What do you call cheese that is not yours?
Back: Nacho cheese. - Front: Why did the tomato blush?
Back: Because it saw the salad dressing.
School and silly ones
- Front: Why did the teacher wear sunglasses?
Back: Because the class was so bright. - Front: What do you call a boomerang that does not come back?
Back: A stick. - Front: Why did the kid bring a ladder to school?
Back: Because they wanted to go to high school. - Front: What is a ghost’s favourite dessert?
Back: I scream.
If you want a bigger stash of giggles for future sticks, our kids jokes guide is a good place to rummage.
Make it extra fun
Add a rating mark
Kids love judging jokes. Put a tiny mark on the back after you tell it:
- One dot = polite chuckle
- Two dots = proper laugh
- Three dots = full-on snort
Theme bundles
Rubber band a few sticks together into mini packs like:
- Animal pack
- Food pack
- Knock-knock pack
Then kids can grab a pack and become the official “Joke Teller” for the next ten minutes.
Build a kindness twist
Want the same hidden-message idea, but sweeter? You can turn this into compliment sticks where the back says something kind (like “You are a great helper”). Our Make a Kind Joke Card Game page has the same giggle-first spirit, just with a sprinkle of warm fuzzies.
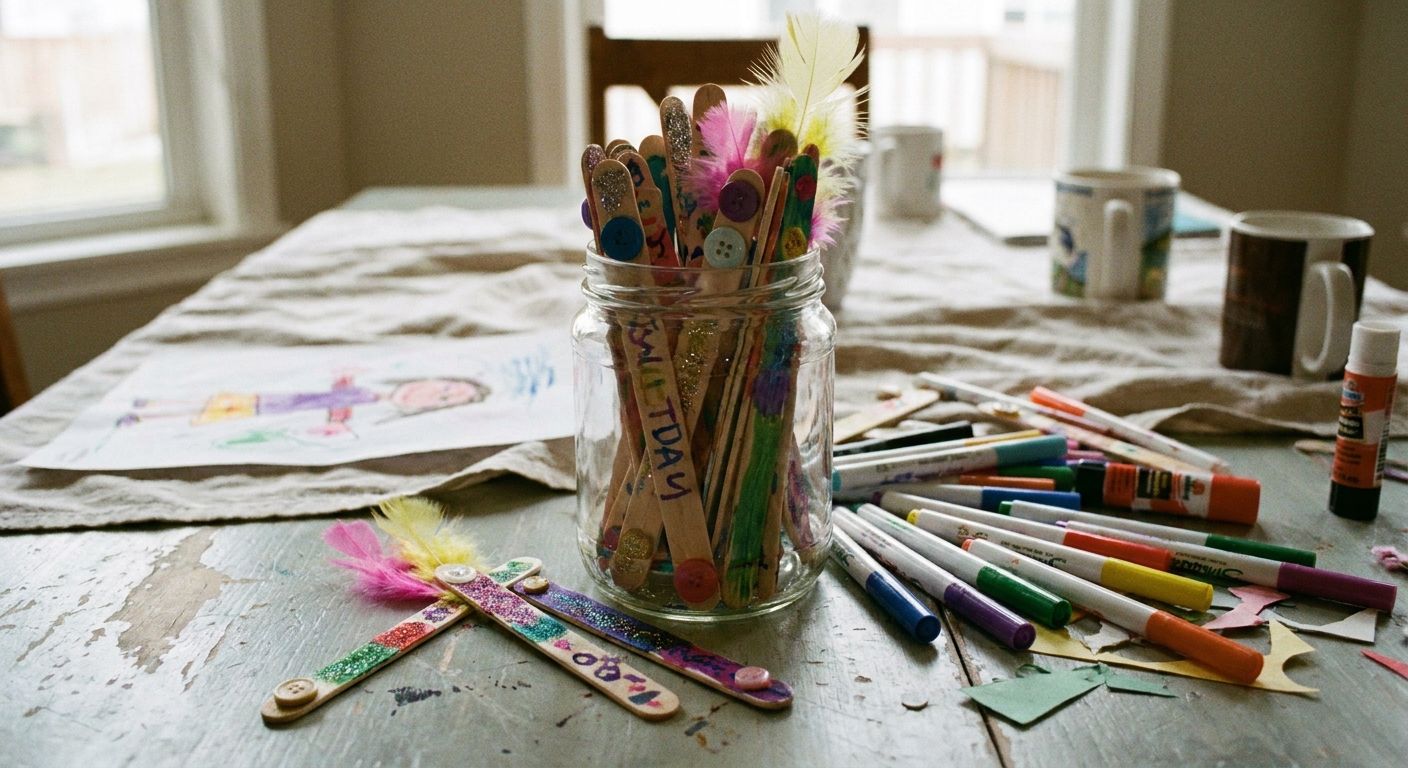
Safety and sanity tips
- Ages: This often works well from around age 4+ with help, and 6+ independently. Toddlers can decorate while you do the writing.
- Splinters: If your sticks feel rough, quickly sand the ends or choose smoother craft sticks.
- Marker smears: Let each side dry for a minute before flipping, especially with chunky markers.
- Storage: Keep them in a cup or jar. If they live loose in a drawer, they will become “mystery sticks” covered in something sticky. This is not a scientific claim. It is a parenting prophecy.
Quick FAQ
How many sticks should I make?
For a family jar, 20 to 30 sticks is plenty. For a party, aim for 40 to 60 so repeats do not happen every five seconds.
Can I use tongue depressors instead?
Yes. They are basically popsicle sticks that have been to the gym. More space for longer jokes.
What if my child cannot read yet?
You read the setup, they guess, and they get the very important job of flipping the stick for the reveal. That “drumroll moment” is half the fun.
One last terrible pun
If anyone asks what you are doing with a pile of craft sticks, tell them you are working on some stick comedy. Then wait for the groans. Collect them like trophies.
For more low-mess, high-laugh ideas, hop over to our kids crafts guide and keep the giggles rolling.