
Rainy afternoon in Yorkshire, three kids circling like hungry seagulls, and me holding a cereal box like it’s a sacred artefact. That is usually how my best craft ideas start. This one is a family favourite because it’s a two-in-one: kids get the satisfaction of a proper jigsaw, and when they finally crack it… the finished picture tells a joke.
The secret sauce is simple: you paint (or collage) a message, then cut it into puzzle pieces. When it’s scrambled, it’s just colourful shapes. When it’s solved, it’s a punchline on cardboard.
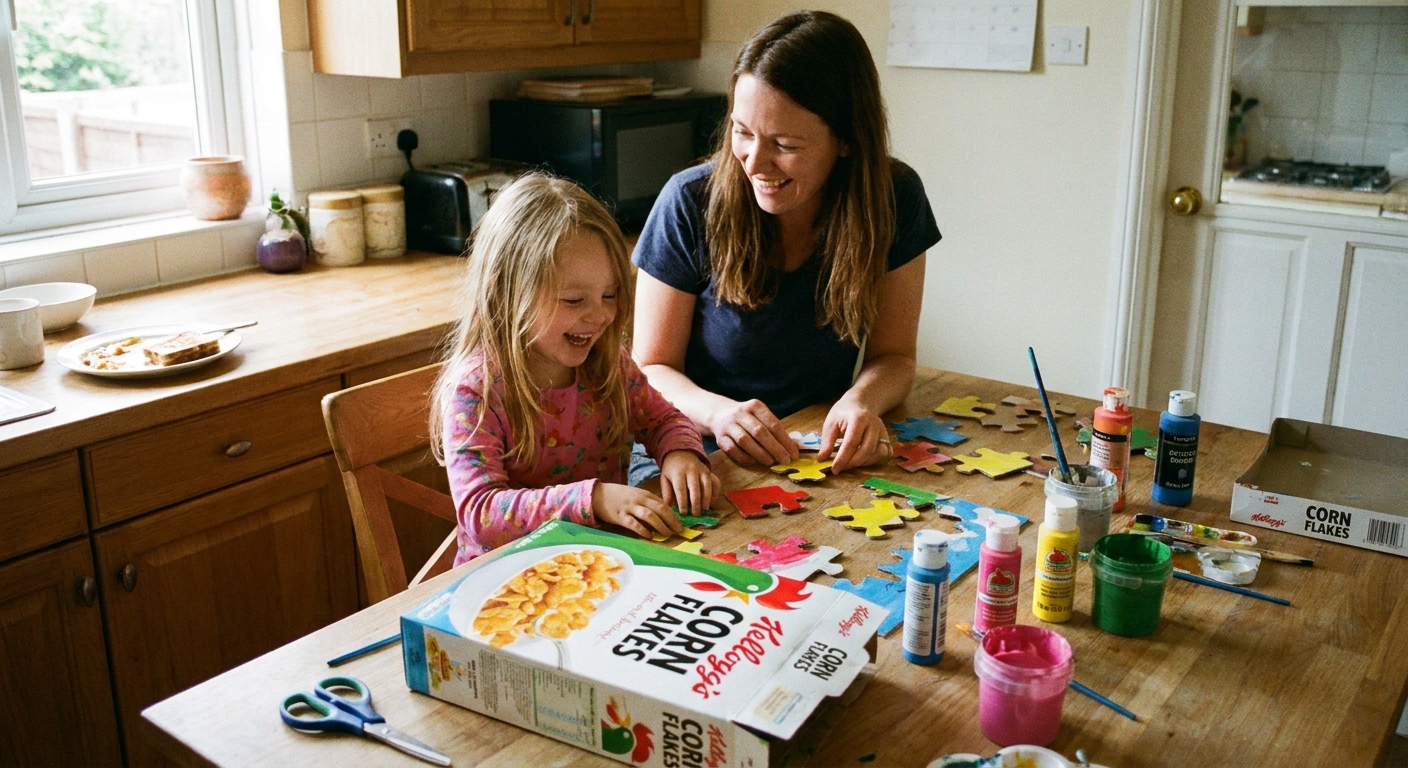
What you will make
A sturdy cardboard jigsaw puzzle, sized for little hands, where the correctly assembled picture reveals a joke. You can make one big puzzle for the whole family, or a set of mini puzzles as party bag surprises.
- Best for ages: 4 and up. Younger children can join in with decorating, but adults should handle cutting and keep the pieces big.
- Time: 20 to 40 minutes plus drying time
- Mess level: medium, the best kind
Supplies (cheap and cheerfully scruffy)
- Cardboard from a cereal box, delivery box, or thick packaging
- Pencil and ruler
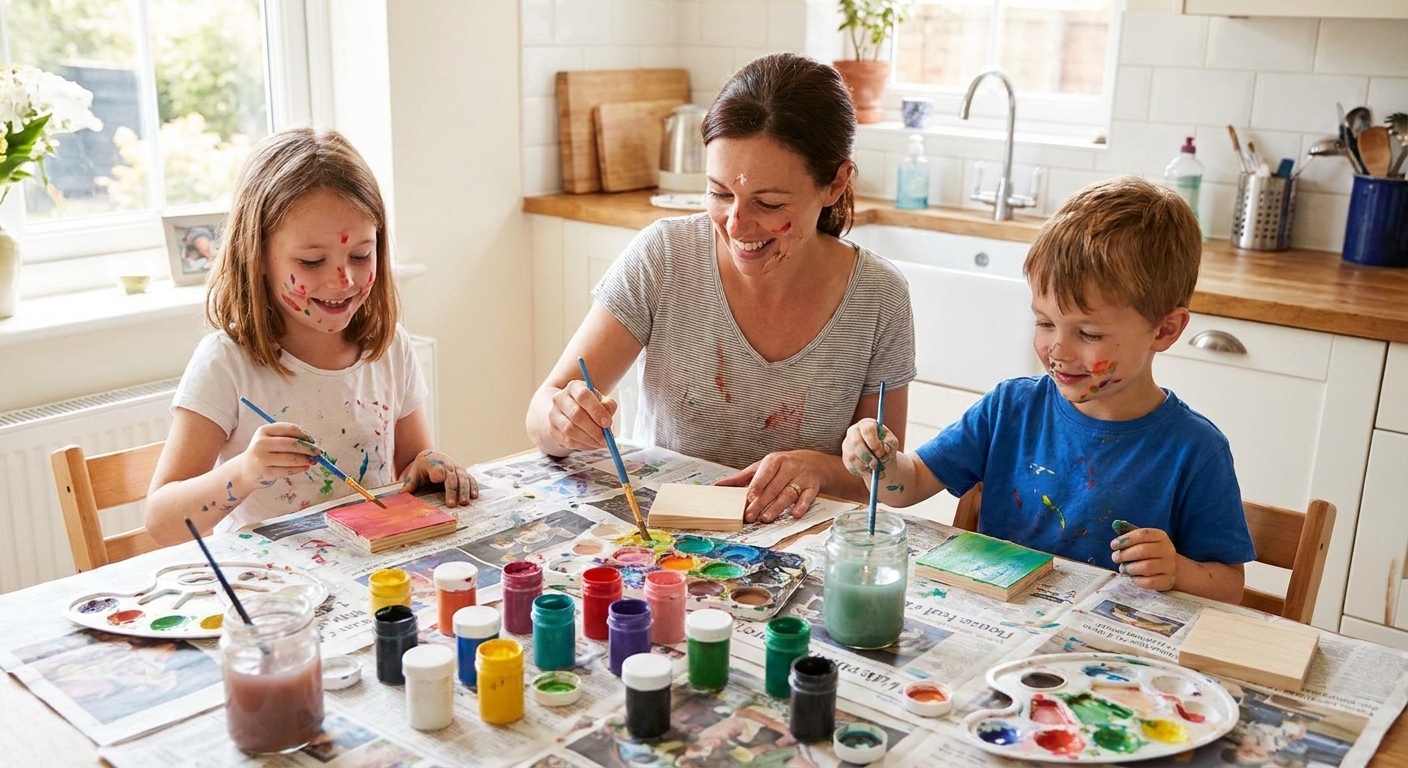
- Paints or markers (acrylic, poster paint, or felt tips all work)
- Glue stick (optional, for collage)
- Clear tape or PVA glue (optional, for strengthening)
- Scissors (for thin card) and/or a craft knife (adult only) for thicker card
- Cutting mat or an old magazine to protect the table
- A plate or mug to trace curves (optional)
- Zip bag or envelope to store the pieces
Cardboard tip from the trenches: cereal boxes are perfect for younger kids because scissors can cut them. For a more “real puzzle” feel, glue cereal-box art onto a thicker box and cut with an adult craft knife.
Quick safety bit: washable paints and felt tips make clean-up far less dramatic. If you’re using anything smelly (some paints and glues are), crack a window and keep little fingers well away from blades.
Step-by-step: your secret joke puzzle
1) Choose the joke (keep it short)
You want something that fits on the puzzle without tiny writing. Think: one question and one answer, or a big silly sentence.
- Good length: 8 to 14 words total
- Big letters: bubble writing, chunky capitals, or marker pen
2) Cut your puzzle base
Start with a rectangle that is easy to handle. A good first size is about A5 for preschoolers (big pieces), and about A4 for older kids who want more of a challenge. Round the corners a bit so it feels nicer in small hands.
3) Strengthen it (optional but brilliant)
If your cardboard is a bit bendy, you have two easy options:
- Tape sandwich: put clear tape across the back, edge to edge
- Double-layer: glue it to a second piece of cardboard, then press under a book for 10 to 30 minutes (or until it feels properly set). If you can, leave it a little longer before cutting so it stays flat.
4) Paint the background first
A simple background makes the letters pop. Solid colour, big stripes, or sponge dabs are perfect. Let it dry fully.
Dad trick: if you want fast drying, use felt tips on thin card. It’s not as “arty”, but it gets you to the joke faster, which is the real goal here.
5) Add the joke reveal
Write your joke large enough to read from arm’s length. If you have kids who love a challenge, put the punchline on the bottom line so they have to solve it to get the ending.
- Outline letters in black for readability
- Add simple doodles: stars, bananas, wobbly eyebrows, whatever your household is into this week
6) Seal it (optional, but helps it survive real children)
When the front is fully dry, seal it with one of these:
- A thin layer of PVA glue brushed on (it usually dries clear, especially in a thin coat)
- Wide clear tape laid neatly across the front
Let it dry again, and give it a bit longer to fully cure if it still feels tacky. I know. Waiting is the enemy of crafts. Start a quick joke-off while you wait.
7) Take a reference snap (optional, sanity-saving)
Before you cut, take a quick photo of the finished design. When the pieces get scrambled, you have a handy “this is what we are aiming for” guide for younger puzzlers.
8) Draw the puzzle lines on the back
Flip it over. Now decide your difficulty level:
- Easy: big chunky pieces, mostly straight lines
- Medium: mix of straight and curvy lines
- Tricky: smaller pieces and a few “tabs” like a real jigsaw
9) Cut the pieces (grown-up job for thick cardboard)
If you’re using a cereal box, scissors work fine. If it’s thicker cardboard, an adult should use a craft knife on a cutting mat. Cut slowly and keep fingers well away from the blade path.
Safety note: if kids want to help, give them the job of collecting pieces and counting them. Cutting is not the moment for teamwork, unless your team enjoys a bit too much excitement.
10) Shuffle and solve
Mix the pieces like a tiny tornado hit your table, then let the kids build it. When they finish, read the joke together with maximum dramatic flair.
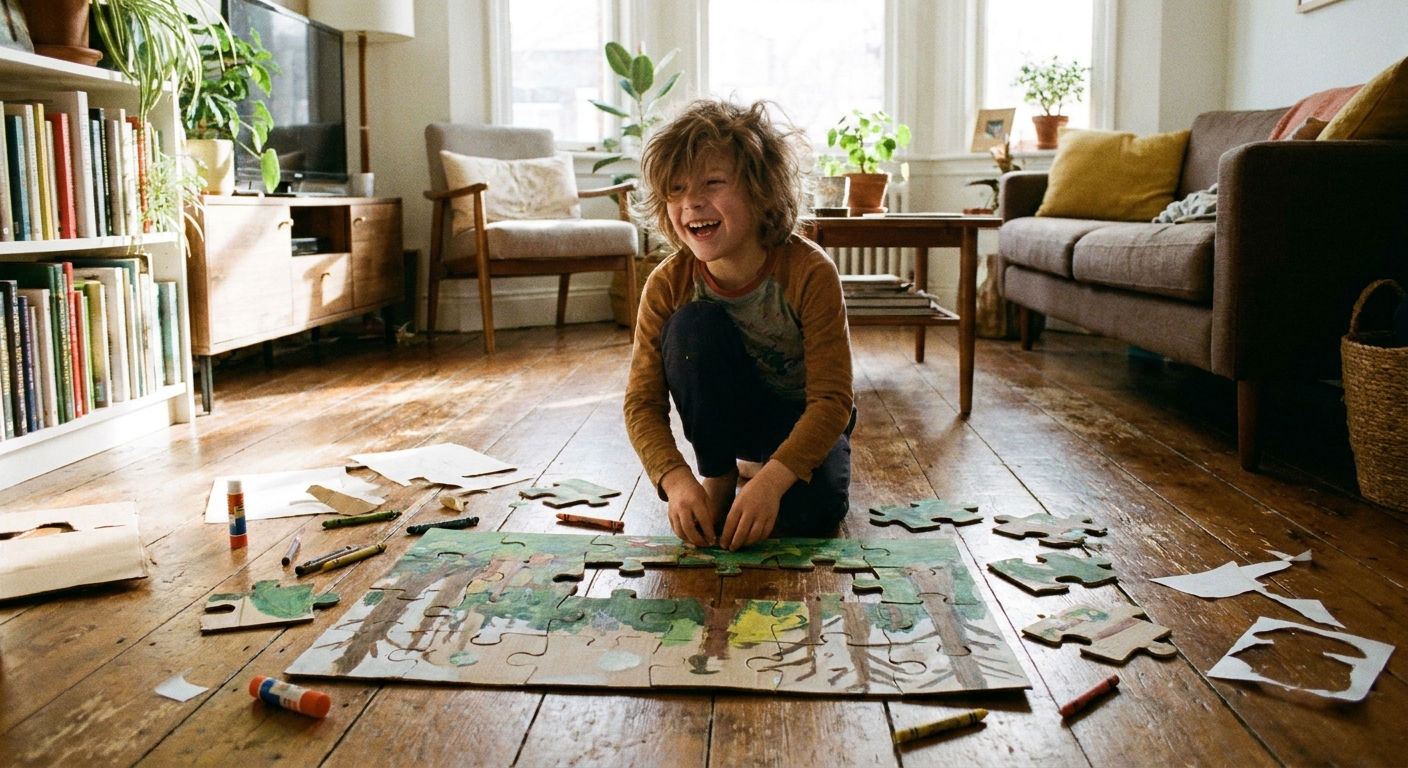
Joke ideas that work well on puzzles
These are short, bold, and easy to read once the puzzle is complete.
- Knock knock. Who’s there? Lettuce. Lettuce who? Lettuce in, it’s cold out here!
- What do you call a bear with no teeth? A gummy bear.
- Why did the banana go to the doctor? Because it wasn’t peeling well.
- What do you call cheese that isn’t yours? Nacho cheese.
- Why did the tomato blush? Because it saw the salad dressing.
If you want more kid-friendly groaners for future puzzles, I keep a big stash in our kids jokes guide.
More reveal ideas
If your kids love a twist, try one of these reveal styles.
Option A: Punchline flap
Write the question across the main puzzle. Put the punchline on a small attached flap (a strip of card taped like a hinge) that only lines up properly when the puzzle is solved.
Option B: Hidden picture + caption
Paint a silly character, then add the joke underneath as the caption. The picture helps younger kids solve it because they can match colours and shapes.
Option C: Two-sided puzzle
One side is the question. The other side is the answer. This is surprisingly motivating, like a cardboard treasure hunt.
Difficulty by age
Preschoolers (roughly 3 to 5)
- Use 6 to 12 big pieces
- Stick to straight cuts and simple shapes
- Use a bold background with two or three colours
Early primary (roughly 5 to 8)
- Try 12 to 24 pieces
- Add a few curvy lines and tabs
- Let them write the joke in chunky marker
Older kids (8+)
- Go 24 to 40 pieces
- Add tiny doodle details that reward careful assembly
- Challenge them to make a riddle puzzle where the answer is a drawing
Storing the puzzle
- Keep pieces in a zip bag or envelope
- Write the joke title on the outside so you can find the right set
- If you made several, store them in a shoebox as your puzzle library
If your family enjoys crafts that turn into repeatable games, you might also like our DIY joke card game or the family joke jar. Both are proudly low-budget and high-giggle.
Troubleshooting
The pieces bend and won’t fit nicely
Next time, double-layer the base or tape the back before cutting. For today, you can gently flatten pieces under a book for a few minutes.
The paint is sticking or tearing when I cut
That usually means it’s not fully dry, or the seal layer is still a bit soft. Give it longer, and keep PVA coats thin. If you’re in a hurry, felt tips plus a neat tape seal is the fast lane.
Kids keep building it upside down
Congratulations, you have raised creative thinkers. To help, make the back a single solid colour so it’s less tempting, or put a tiny dot in one corner of every piece on the back as a “this side down” hint.
The joke is hard to read once assembled
Go bigger with the letters, outline them in black, and keep the background simple. High contrast wins every time.
Mini puzzle party
If you need an activity for a birthday or a rainy playdate, set up a puzzle-making station:
- Pre-cut cardboard rectangles
- Markers and sticker sheets
- A bowl of pre-approved jokes kids can copy
- Adults handle the cutting step, then kids swap puzzles and solve each other’s reveals
For more low-prep silliness, have a peek at our party games guide and turn the room into a giggle zone.
Quick FAQ
Can I use a real jigsaw template?
You can, but you do not need to. Hand-drawn pieces are charming and far less stressful. The joke still lands, even if the pieces look like potatoes.
What is the best cardboard?
Cereal boxes for easy cutting. Delivery boxes for durability. If you want the best of both, glue cereal-box card onto a thicker box.
How do I make it reusable for schools or clubs?
Seal the front with clear tape or a thin PVA coat, reinforce the back, and store pieces in labelled bags. If you’re making lots, keep the piece count low so clean-up does not become its own after-school club.