
One rainy October in Yorkshire, I handed my toddlers a pumpkin and a blunt plastic “safety” carving tool, then immediately realised I’d invented a new sport called Dad Panics While Everyone Slips on Pumpkin Slime. Since then, our house has gone happily, proudly, shamelessly no-carve.
These are my favourite No-Carve Pun-kins: painted pumpkins with goofy faces and autumn puns that are funny enough to make kids cackle and grown-ups do that reluctant snort they pretend didn’t happen.
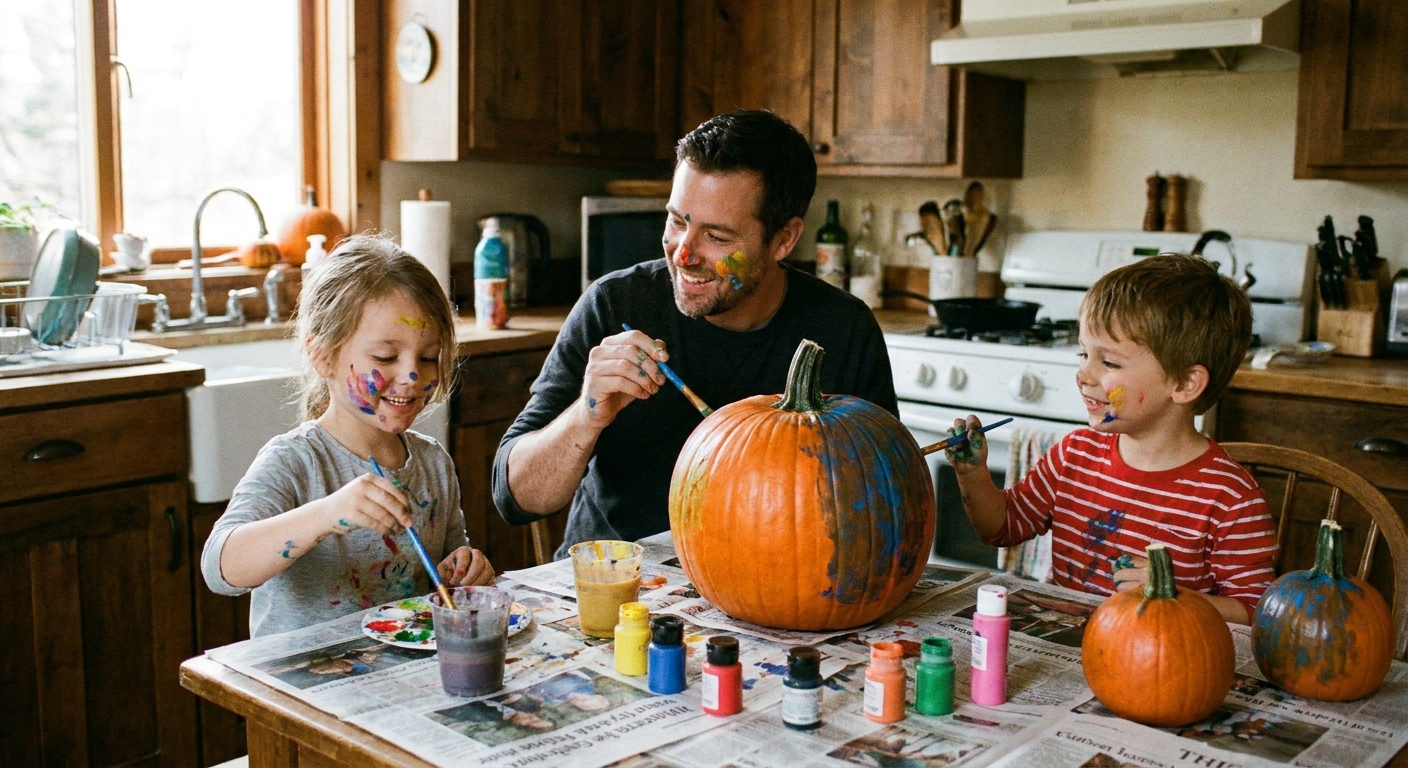
Why paint instead of carve?
- Less mess, less stress: No strings, no seeds in your socks, no late-night sink surgery.
- Safer for younger kids: Painting is toddler-friendly, and you can still let older kids add details.
- They can last longer: Uncut pumpkins tend to stay firm longer than carved ones. Paint will not stop nature doing its thing, but it usually buys you time.
- More joke space: A pun needs a stage. A pumpkin is basically a round comedy billboard.
Supplies (use what you have)
You can get fancy, but you absolutely do not need to. My crafting philosophy is “raid the recycling bin first, then get smug about it”.
- Pumpkins: Any size. Smooth ones are easier to paint, warty ones are funnier.
- Paint: Acrylic paint works best for bold colour. Washable kids’ paint is fine but may need extra coats. Quick warning: acrylic can stain clothes and tables, so protect everything you care about.
- Brushes: One bigger brush for base colour, one small brush for details.
- Paint pens or permanent marker: Great for outlines and tiny letters. If you are using marker, test it on the underside first because some pumpkin skins make it bead or fade.
- Paper towel and a cup of water
- Optional: white primer (or white acrylic as a base), glitter glue, googly eyes, stickers, an outdoor-rated water-based sealer for outside display (or a basic water-based sealer for indoors)
Table protection: Newspaper, a bin bag, or that one old shower curtain you keep meaning to throw away but never do (crafting treasure).
Quick setup
- Wash the pumpkin with warm water and dry it well. Paint will not stick nicely to a wet pumpkin.
- Wipe with a dry cloth to remove any dust.
- Create a “wet zone” (paint, water cup) and a “dry zone” (finished pumpkins). This is mainly to stop elbows from becoming modern art.
- Dress for success, meaning old clothes you do not love.
- Make a drying spot: Sit each pumpkin on a paper cup, small bowl, or a ring of scrunched foil so it does not glue itself to the table while it dries.
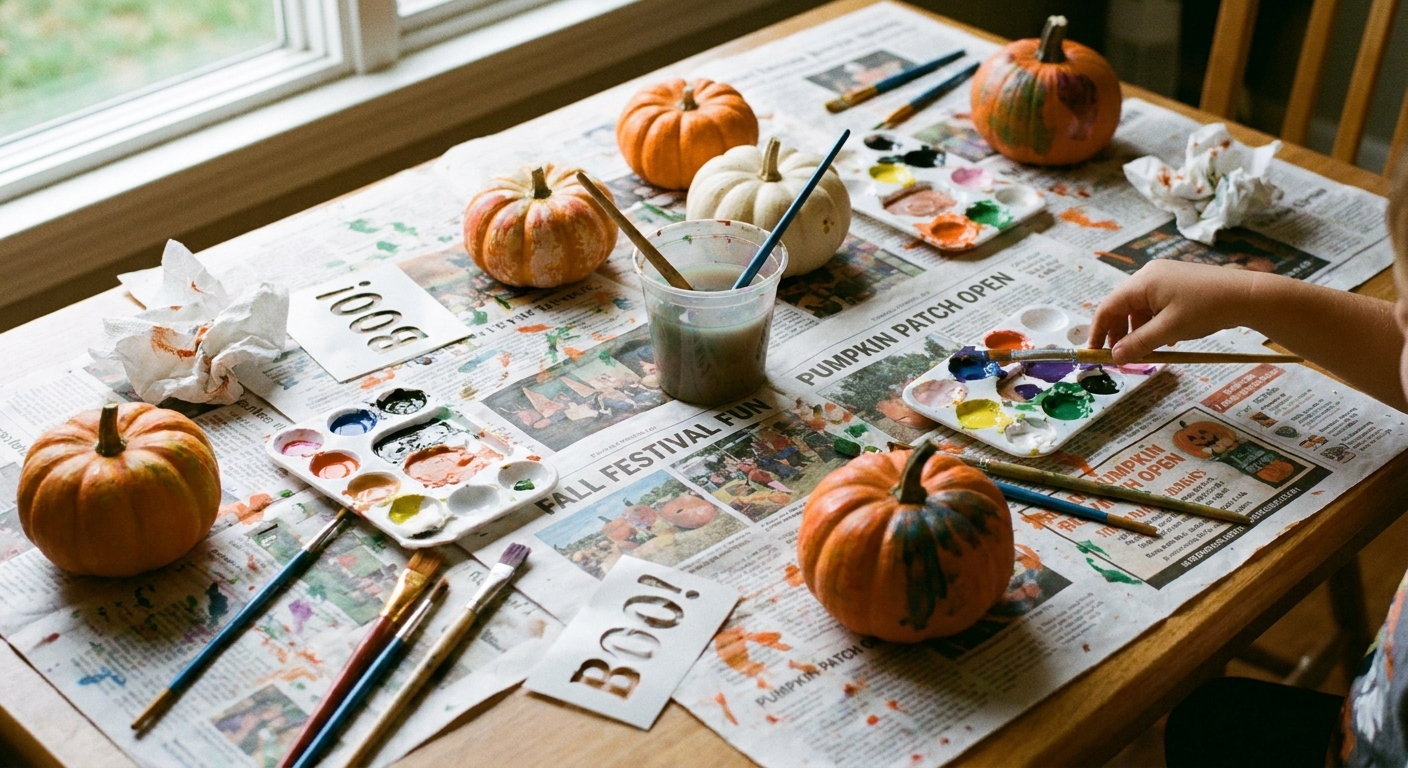
How to paint a Pun-kin
1) Plan your pun first
It’s easier to fit a joke around a face than cram words into the last remaining patch of orange. Pick your pun, then decide where the text will go.
2) Base coat (optional)
If you want bright colours, paint a thin coat of white where your design will be, then let it dry until touch-dry (often about 10 to 30 minutes, depending on paint and room conditions). Two thin coats beat one gloopy coat every time.
3) Sketch lightly
Use a pencil very lightly, or a paint pen in a pale colour. Simple shapes win: circles, triangles, and the classic “oops that eye is bigger” oval.
4) Paint big shapes, then details
Do face colours and big blocks first, then outlines, then tiny details like eyebrows and teeth. Eyebrows are where the comedy lives.
5) Add the words
For lettering, I like paint pens or a permanent marker once the paint is fully dry. If the pun is long, paint a “label” shape first (like a cream blob or a sign) and write on that.
6) Let it dry properly
Give it time before handling. If you need to paint all the way round, do one side, let it dry, then rotate it like a very dramatic rotisserie chicken.
7) Seal if you want it to last
If your pumpkin will sit outside, a thin coat of a water-based, outdoor-rated sealer can help protect the paint from drips and scuffs. For indoor pumpkins, a basic water-based sealer is usually enough. Either way, let it dry fully before moving it, and remember: sealing helps the paint, not the pumpkin’s inevitable journey back to the earth.
10 easy Pun-kin ideas
Pick one, or let kids choose a pun and you build the face around it.
- Gourd-geous: big eyelashes, rosy cheeks, smug smile.
- Oh my gourd!: shocked eyebrows, mouth in a perfect “O”.
- Squash goals: flexing “arms” painted on the sides, determined eyes.
- I’m fall-ing for you: dreamy eyes looking up, little painted leaves like confetti.
- What’s up, pumpkin?: sunglasses and a grin.
- Trick or treat!: cheeky wink, one toothy grin.
- Leaf me alone: grumpy face with a tiny leaf “earmuff”.
- Too cool for school: a little hat, relaxed smile, sleepy eyelids.
- Hay there!: paint a little straw hat, simple dot eyes.
- Fangs for the memories: vampire teeth, dramatic cape shape.
Big list of fall puns
These are designed for kids to read and giggle at, plus they fit nicely on medium pumpkins.
Pumpkin and gourd puns
- Oh my gourd!
- You’re gourd-geous
- What’s up, pumpkin?
- Have a gourd time
- Gourd vibes only
- Stay calm and pumpkin on
- Pumpkin kisses
- Pumpkin spice and everything nice
- Happy pump-kin day
Leaf and tree puns
- Leaf me alone
- Leaf it to me
- Don’t stop be-leaf-ing
- I’m falling for you
- Leaf it and weep
- What a re-leaf
Autumn and weather puns
- Autumn-atically awesome
- Feeling fall-tastic
- Ready, set, fall
- Sweater weather forever
- Hay there, autumn!
Halloween-ish (still friendly)
- Too ghoul for school
- Witch way to the snacks?
- Hocus pocus, I need focus
- Fangs a lot
- I’m here for the boos (root beer counts)
Dad tip: If the pun is long, write just the punchy bit on the pumpkin and say the rest dramatically every time someone walks past. This is called “being a parent”.
Make it interactive
If you are doing more than one pumpkin, turn it into a tiny family event.
- Pun vote: Everyone gets to nominate one pun. Silliest wins, obviously.
- Red carpet walk: Each child presents their Pun-kin and performs the joke like it’s a world tour.
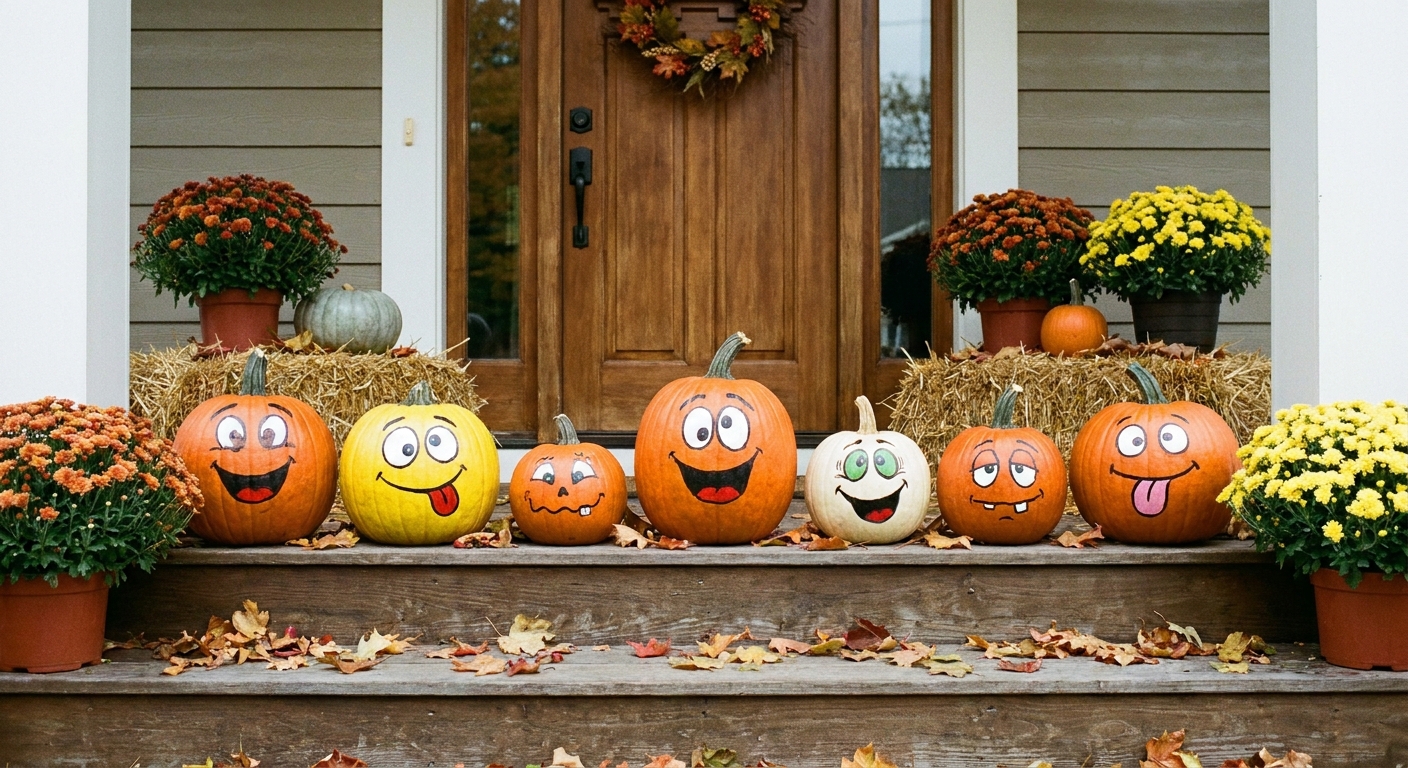
- Photo moment: Line them up on the doorstep and take a quick picture before someone touches wet paint “just to check”.
Safety and clean-up
- Little kids: Use non-toxic washable paint and supervise anything with permanent marker.
- Candles: If your pumpkin is uncarved, skip real flames. Use LED tealights nearby instead.
- Mould watch: Keep pumpkins cool and dry. If it starts to smell funky, it has retired from comedy.
- Where to keep them: A cool, dry spot is best. If they are outside, try to keep them out of heavy rain and away from frost where you can.
- Clean-up shortcut: Put brushes straight into warm soapy water. Future-you will be grateful.
More giggly fun
If you want to keep the “craft + joke” combo going, these are favourites in our house:
- Holiday activities for kids for more seasonal ideas
- Halloween trick-or-treat tote with glow ghost jokes if you want something to carry the sweets
- Family joke jar craft for year-round giggles
- Funny photo booth props for parties and pumpkin photo ops
FAQ
What paint works best on pumpkins?
Acrylic paint gives the boldest colour and sticks well to pumpkin skin. If you are painting with toddlers, washable paint is fine, just expect to do a second coat.
How do you make paint show up on a dark pumpkin?
Paint a quick white base coat first where your design will go, then let it dry until touch-dry. It’s like giving your colours a little stage light.
Will painted pumpkins rot?
Eventually, yes, because pumpkins are determined to return to the earth. Uncut pumpkins usually last longer than carved ones, but paint and sealer will not stop natural decay. Keep them cool and dry and check them every few days.
Can I use googly eyes?
Yes, and I fully support this life choice. Use tacky glue or hot glue (adult job) and let it set before moving the pumpkin.