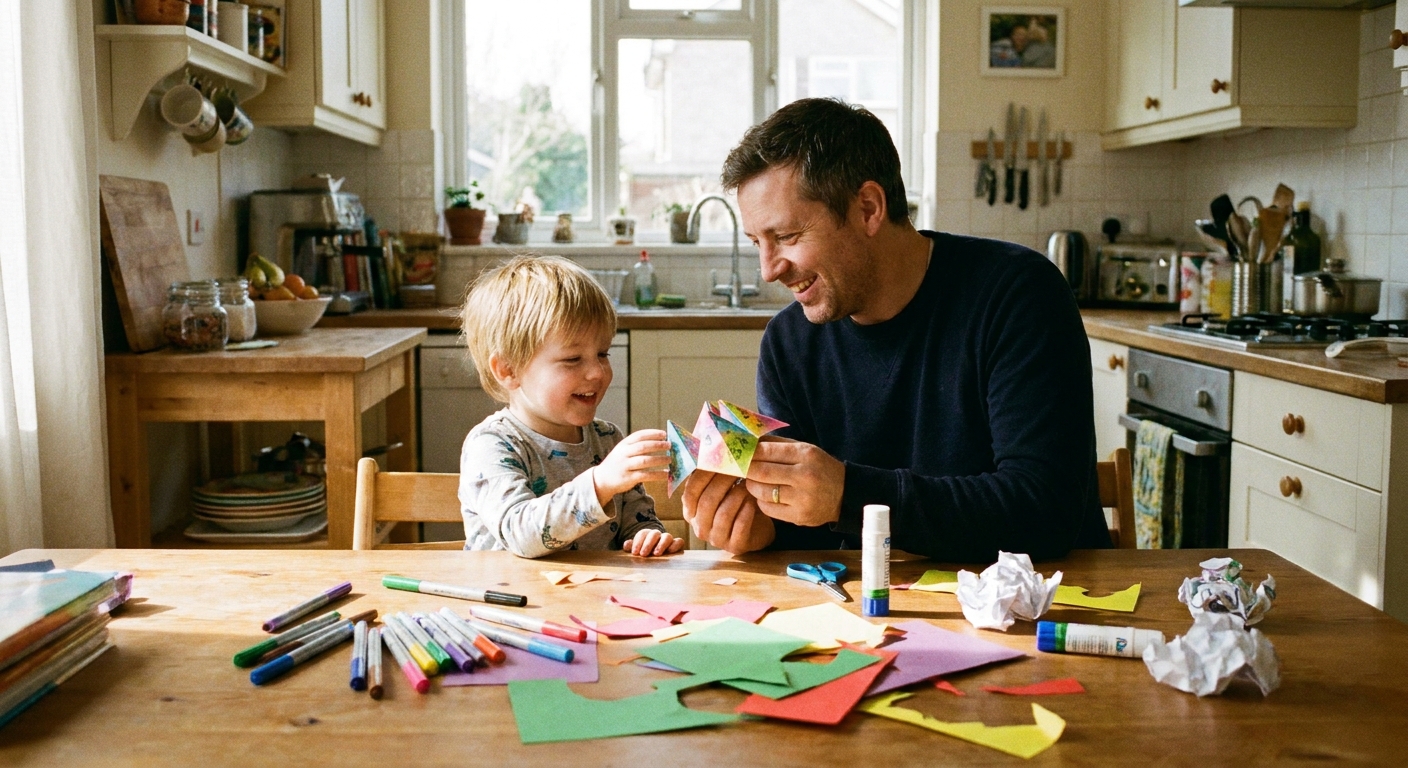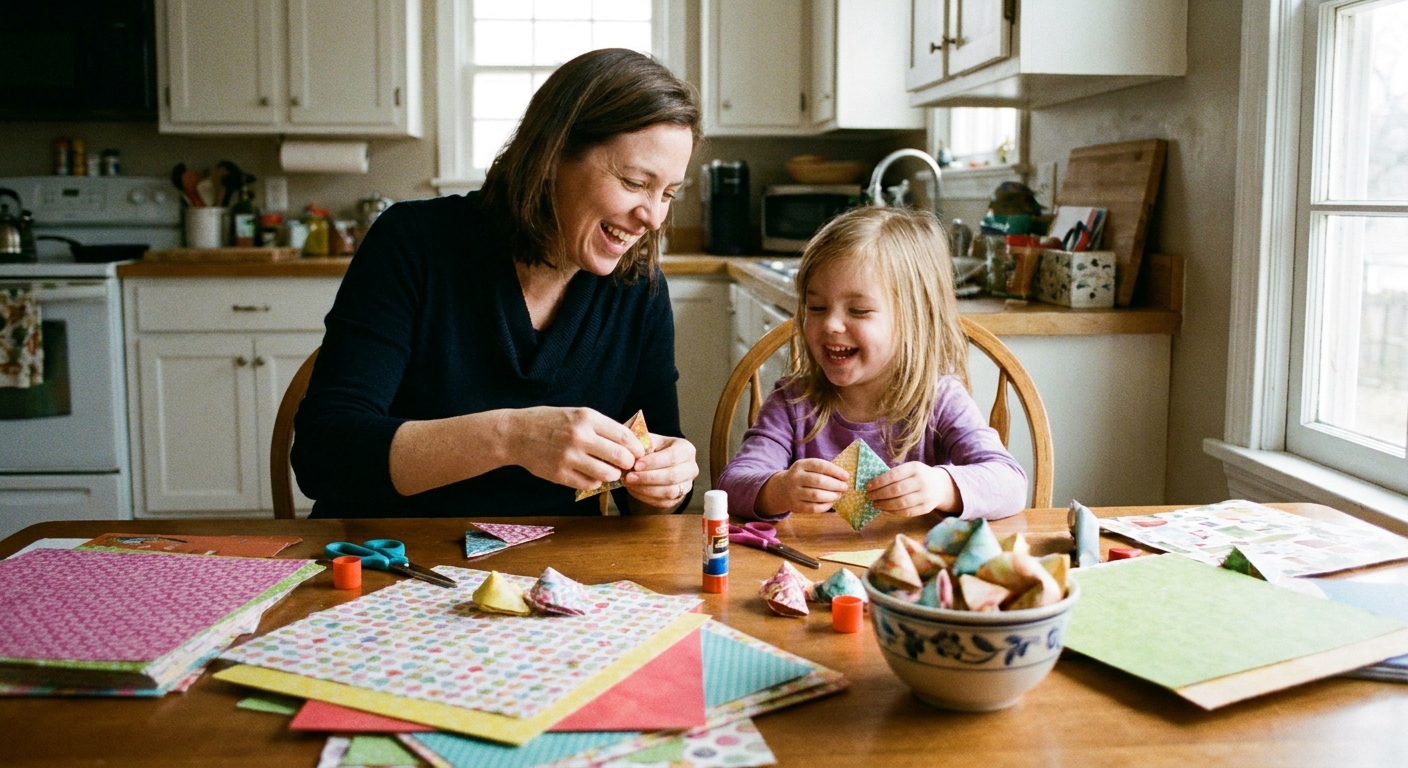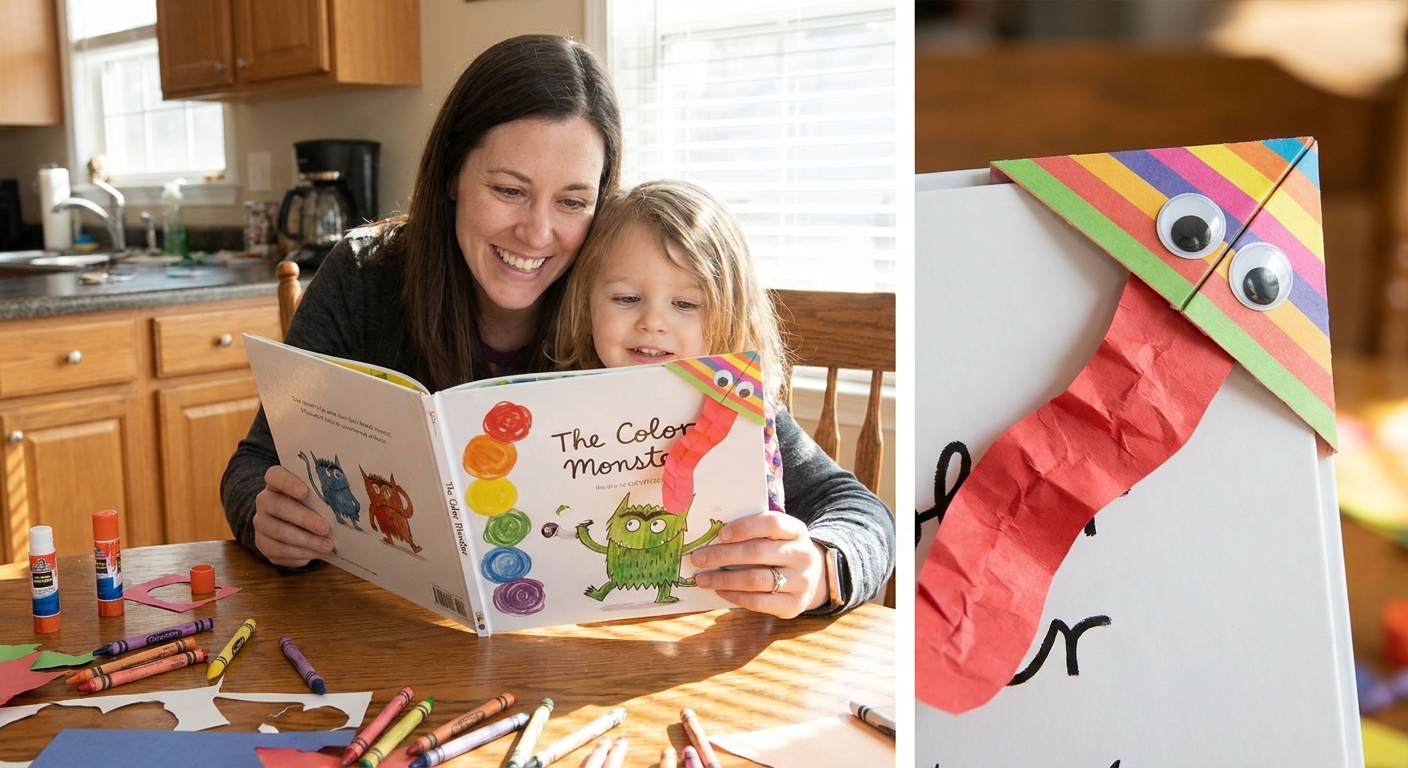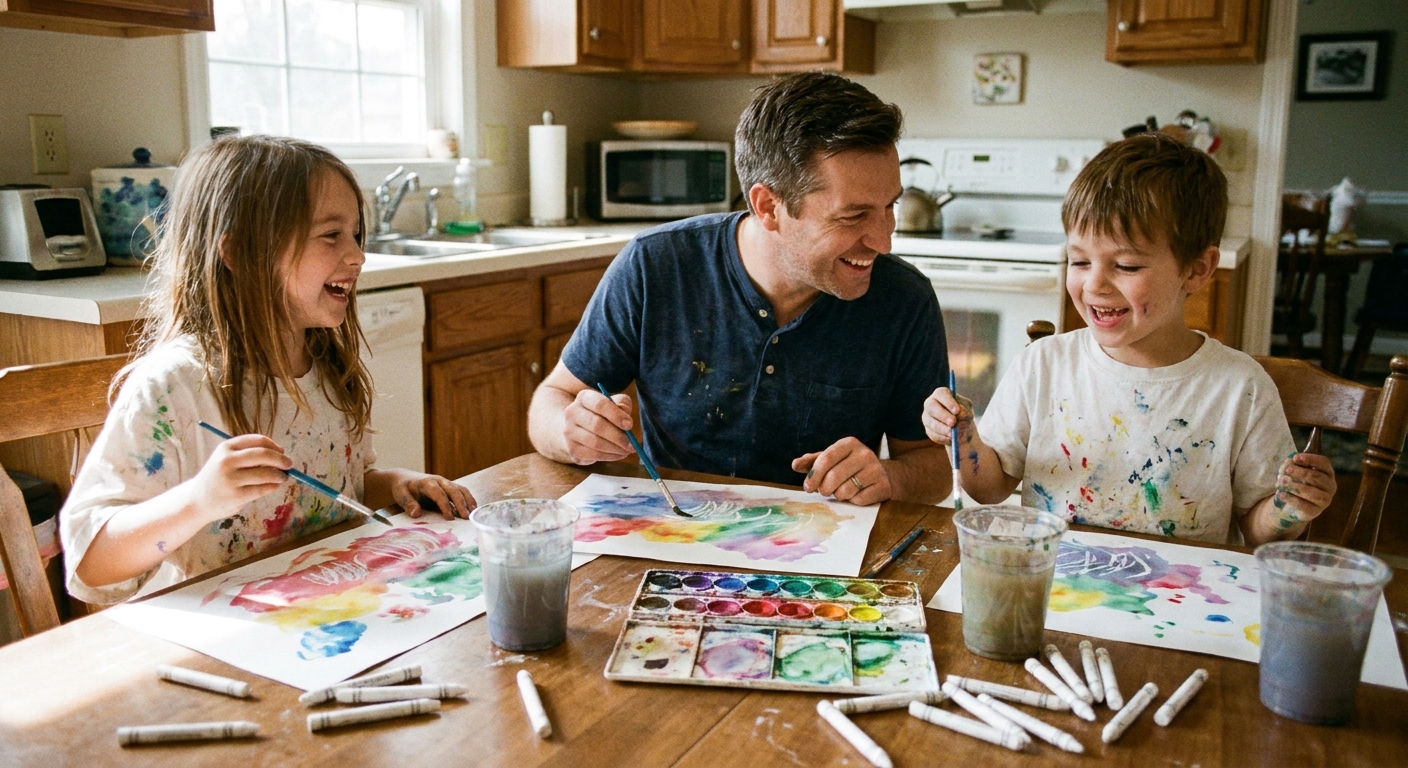

Rainy afternoon in Yorkshire, three kids bouncing off the sofa, and me thinking, “Right then, we need a craft that looks impressive… but is basically folded paper and optimism.” Enter the pop-up card: the sneaky little bit of paper engineering that makes kids feel like actual wizards. Add a joke, a googly-eyed monster, and suddenly you have a greeting card that gets kept instead of politely recycled.
Below is my no-fancy-tools, giggles-first guide to making hilarious pop-up cards that surprise the recipient and deliver a punchline at the perfect moment.
What makes a pop-up card funny
Timing does the heavy lifting. A joke written on the front is fine. A joke that springs out when you open the card is comedy with a tiny paper stage.
- Surprise: something jumps up, slides out, or stands tall.
- Character: a silly face helps, especially with movable eyes or a huge tongue.
- Punchline placement: set-up outside, punchline inside, or vice versa.
- Kid logic: the best jokes are simple, slightly ridiculous, and proudly not cool.
Supplies (keep it simple)
You can do this with basic bits. If you have fancy paper, lovely. If you have cereal boxes and a pen that still works, also lovely.
- Cardstock or thick paper (A4 works well)
- Scrap paper for characters
- Scissors (child-safe if needed)
- Glue stick (liquid glue works but gets… exciting)
- Marker pens or crayons
- Optional: googly eyes, stickers, washi tape
- Optional: ruler or butter knife for scoring folds
Quick safety note: an adult should handle the slit cutting, or at least hover very closely while kids cut. Pop-up cards are fun. Emergency plasters are less fun.
My dad tip: If you are crafting with younger kids, pre-cut a few simple shapes (circles, triangle teeth, tongues). It turns “I can’t do it!” into “I made a monster!” in about 14 seconds.
The easiest pop-up step
This is the classic first pop-up mechanism, often called a step pop-up. It creates a little step that pops forward when the card opens. Then you stick your character or joke right on that step.
Step-by-step
- Fold your card: Take an A4 sheet of cardstock and fold it in half like a book. Crease firmly.
- Make two cuts: Open the card flat. On the folded centre crease, cut two short parallel slits, about 1 to 3 cm long, roughly in the middle. Keep the cuts the same length. (Longer slits make a deeper step, but they also weaken the fold a bit.)
- Push the tab inward: Fold the card closed halfway so you can get your fingers inside. Gently push the cut section through to the inside of the card, then press along the new folds to reverse the crease. Open the card again and you should have a rectangular step that pops toward you.
- Test it: Open and close the card a few times. If it sticks, crease the folds again.
That is your pop-up platform. Now we decorate the daylights out of it.
Turn the pop-up into a silly character
Pick one character concept and commit to it with confidence. Pop-up cards reward bold nonsense.
Option 1: The Joke Monster
My household favourite. The monster “eats” the punchline or shouts it in your face. Both are valid.
- Cut a big mouth shape (a wide oval or semi-circle).
- Add triangle teeth and a tongue strip.
- Glue the mouth onto the pop-up step so it sticks out when opened.
- Draw eyes on the background, or glue googly eyes above the mouth.
Funny detail: Make the tongue extra long and write the punchline along it like a silly red carpet.
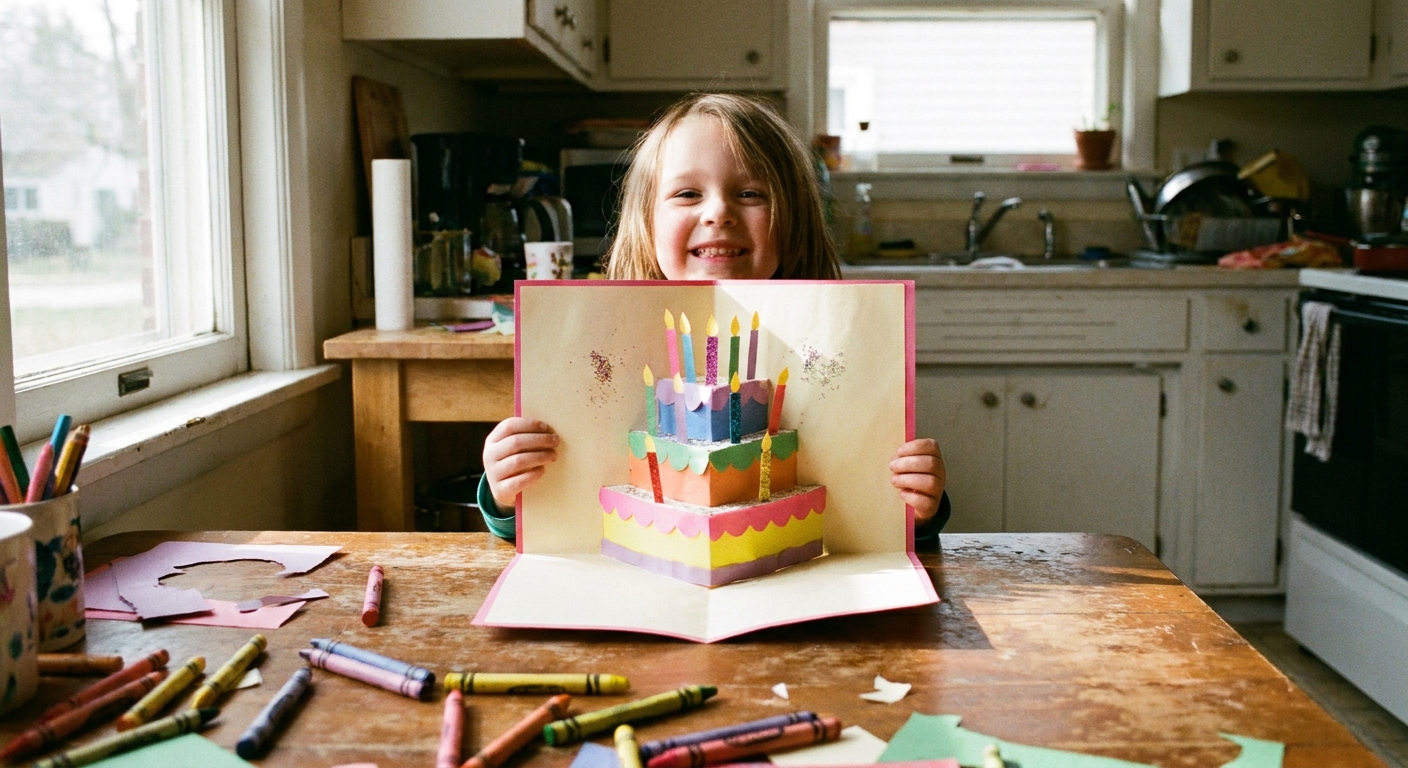
Option 2: The Pop-Up Cake With a Pun
Great for birthdays and easy to customise.
- Cut a cake rectangle and a candle.
- Glue the cake to the pop-up step.
- Write a pun on the cake or candle flame.
Option 3: The Pop-Up Animal With a Speech Bubble
A simple animal face on the step, and the joke in a speech bubble behind it. Instant charm.
- Cut a face circle and two ears.
- Add a nose, whiskers, or a beak.
- Glue the face onto the pop-up step.
- Add a speech bubble on the background with your joke.
Where to put the joke
Pop-up cards have three great joke zones. Mix and match.
- Front cover: the set-up question or a mysterious clue.
- Pop-up piece: the surprise reveal word, the “BOO!”, or the silly face saying the punchline.
- Inside background: the longer punchline, or a second tiny joke as a bonus.
A simple joke formula
- Front: “Knock knock!”
- Inside (on the pop-up character): the “Who’s there?” character.
- Inside background: the punchline response.
If your kid is writing the joke, let them spell it their way. A wobbly “bananah” is still a banana, and it is twice as funny when Nana opens it.
Three pop-up joke ideas
Steal these shamelessly. I do.
1) Monster Mouth Reveal
- Front: “Warning: this card may contain a monster.”
- Pop-up mouth says: “RAAAWR!”
- Inside background: “I was going to tell you a joke… but it got eaten.”
2) Birthday Cake Pun
- Front: “Are you ready for a sweet surprise?”
- Pop-up cake says: “CAKE!”
- Inside background: “Hope your birthday is totally layer-some.”
3) Pop-Up Cat
- Front: “I got you a card that is purr-fect.”
- Pop-up cat says: “Meow!”
- Inside background: “Just kitten. It’s me.”
If you want more joke fuel for your cards, our kids jokes guide is a handy place to grab quick, school-friendly punchlines.
Make it sturdier
Pop-up cards often fail in the same way: the pop-up bit gets tugged like a tiny handle. Here is how to help it live a long and giggly life.
- Use cardstock: printer paper works, but it gets floppy fast.
- Keep the pop-up light: big chunky cardboard characters can stop the fold from moving smoothly.
- Crease hard: open and close the card 5 to 10 times before gifting.
- Glue smart: glue only the parts that should stick. Keep the fold itself glue-free.
Pop-up variations
Once they master the basic step, they will immediately demand advanced engineering. This is how it goes.
Double step
Make two sets of parallel cuts, one higher and one lower. You can create a little stage with two levels. Perfect for a character up front and a surprise object behind.
Side pop-out
Instead of cutting on the centre crease, cut two slits on one side of the inside panel (not through the fold). Fold the flap inward like a little door that pops toward the centre when opened.
Hidden message flap
Glue a small folded flap behind your pop-up character with the punchline underneath. The recipient lifts the flap to reveal the final joke.
For more crafty, joke-delivery chaos, you might also like magic watercolour reveal jokes or the classic family joke jar craft.
Crafting with different ages
Preschool (with help)
- Adult does the cutting slits.
- Kids decorate and glue big simple shapes.
- Keep the joke short and read it together.
Ages 6 to 9
- They can try the cuts with supervision.
- Encourage testing the mechanism before decorating.
- Let them invent the character first, then fit it to the pop-up step.
Ages 10+
- Challenge them to make two steps or a hidden flap.
- Ask for a “set-up on the cover, punchline on the pop-up” structure.
- They can add details like shading, patterns, and props.
Quick troubleshooting
The pop-up step will not pop
- Close the card halfway and press the step inward firmly to reverse the fold.
- Make sure your two slits are the same length.
- Crease all fold lines again, then test repeatedly.
The card rips at the slit
- Your paper may be too thin. Switch to cardstock.
- Keep cuts shorter (1 to 2 cm) for smaller cards and smaller hands.
- Do not pull the pop-up tab to open the card. Open from the edges.
The pop-up gets stuck
- Trim any bits that poke into the fold line.
- Use less glue and let it dry before testing.
- Flatten bulky add-ons like foam stickers, or place them on the background instead.
A sweet finishing touch
Before your child gives the card away, have them sign it with a tiny “bonus joke” on the back.
My go-to: “I made this just for you. It is 98% paper and 2% pure silliness.”
And if the pop-up is a little crooked, that is not a flaw. That is proof it was made by an actual human child and not a greeting card machine with no sense of humour.